It’s been a while since my last post, mainly because all my spare time has been going into finishing our sequence. (There are never enough hours in the day!) But now seems like a good time to reflect on how far we’ve come and what we’ve been up to.
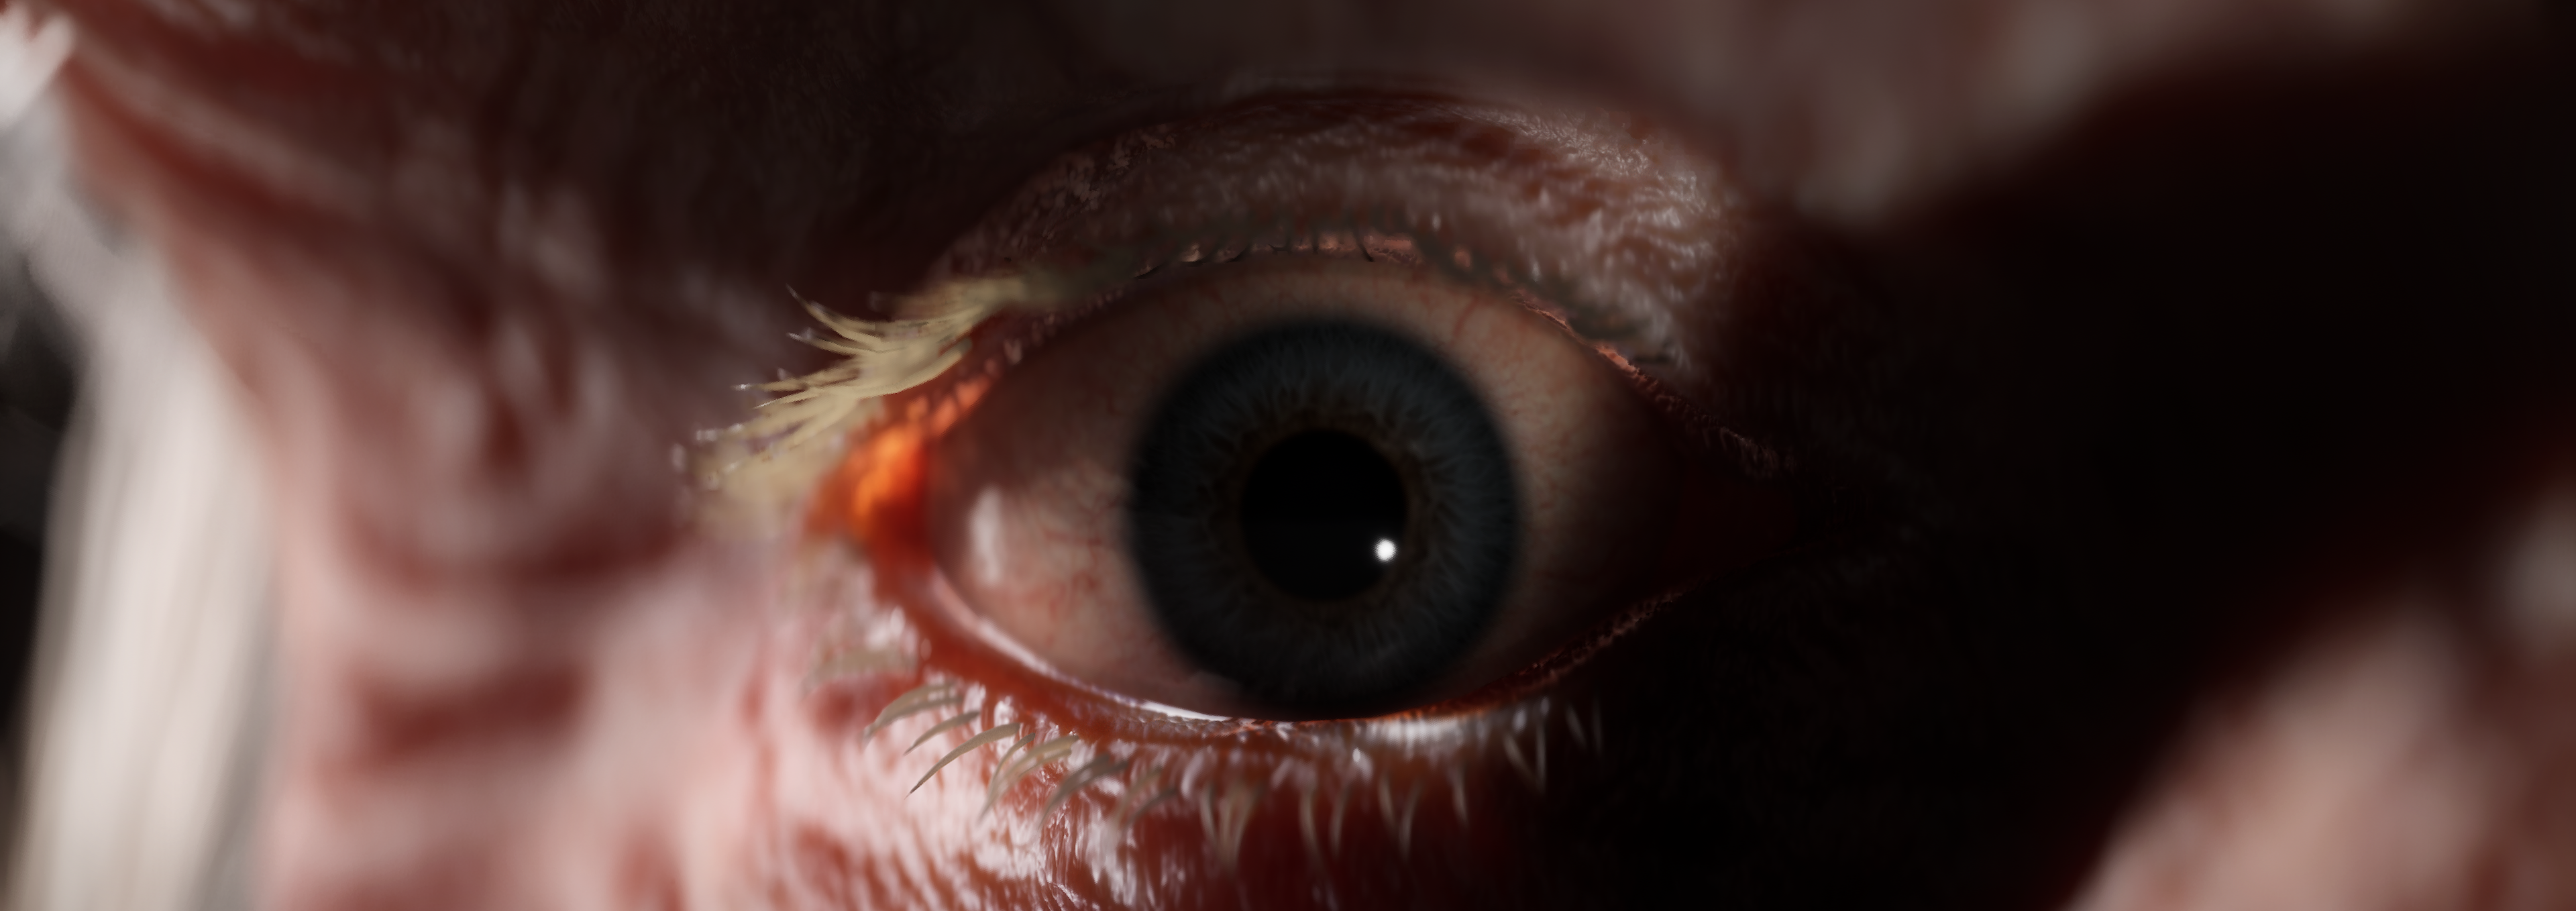
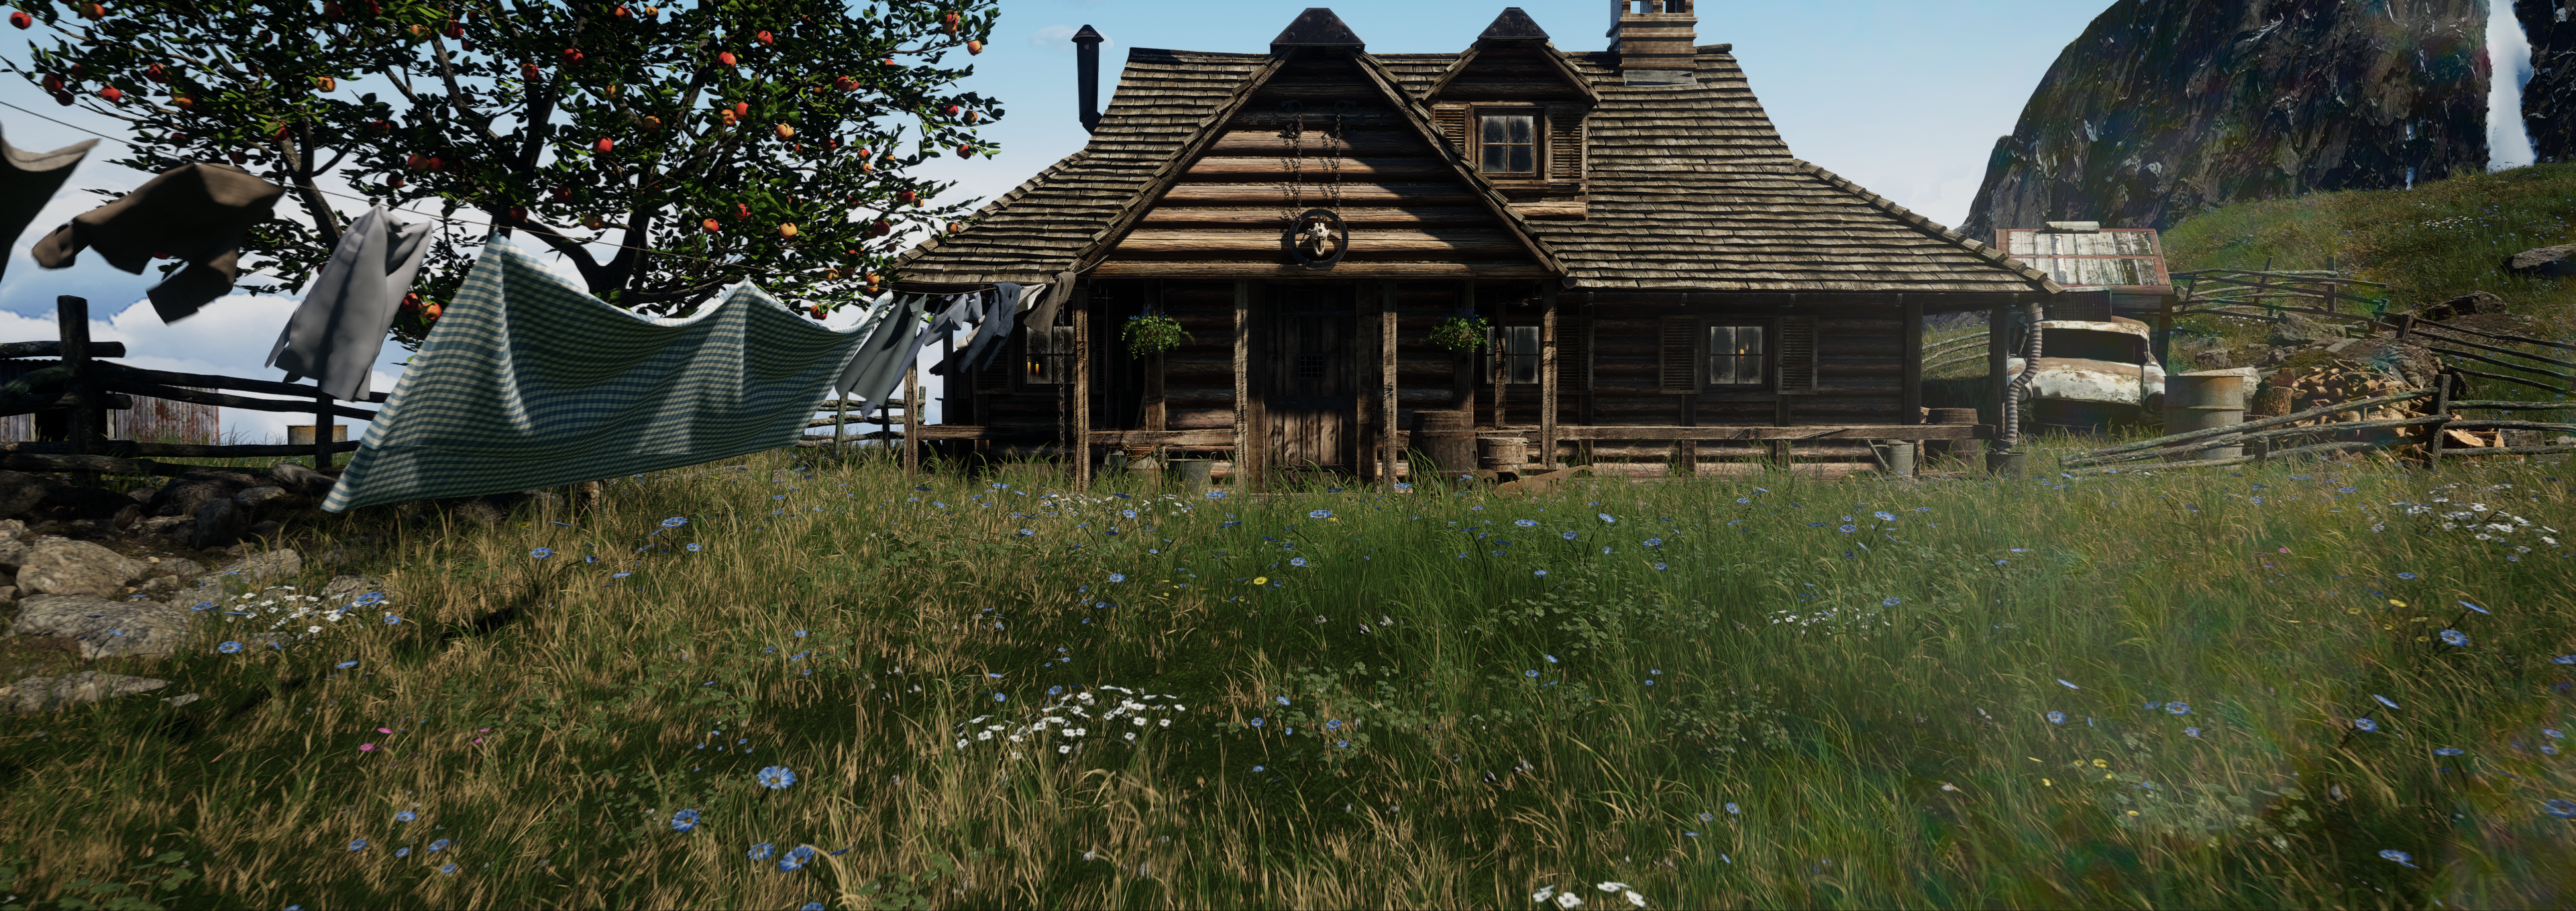
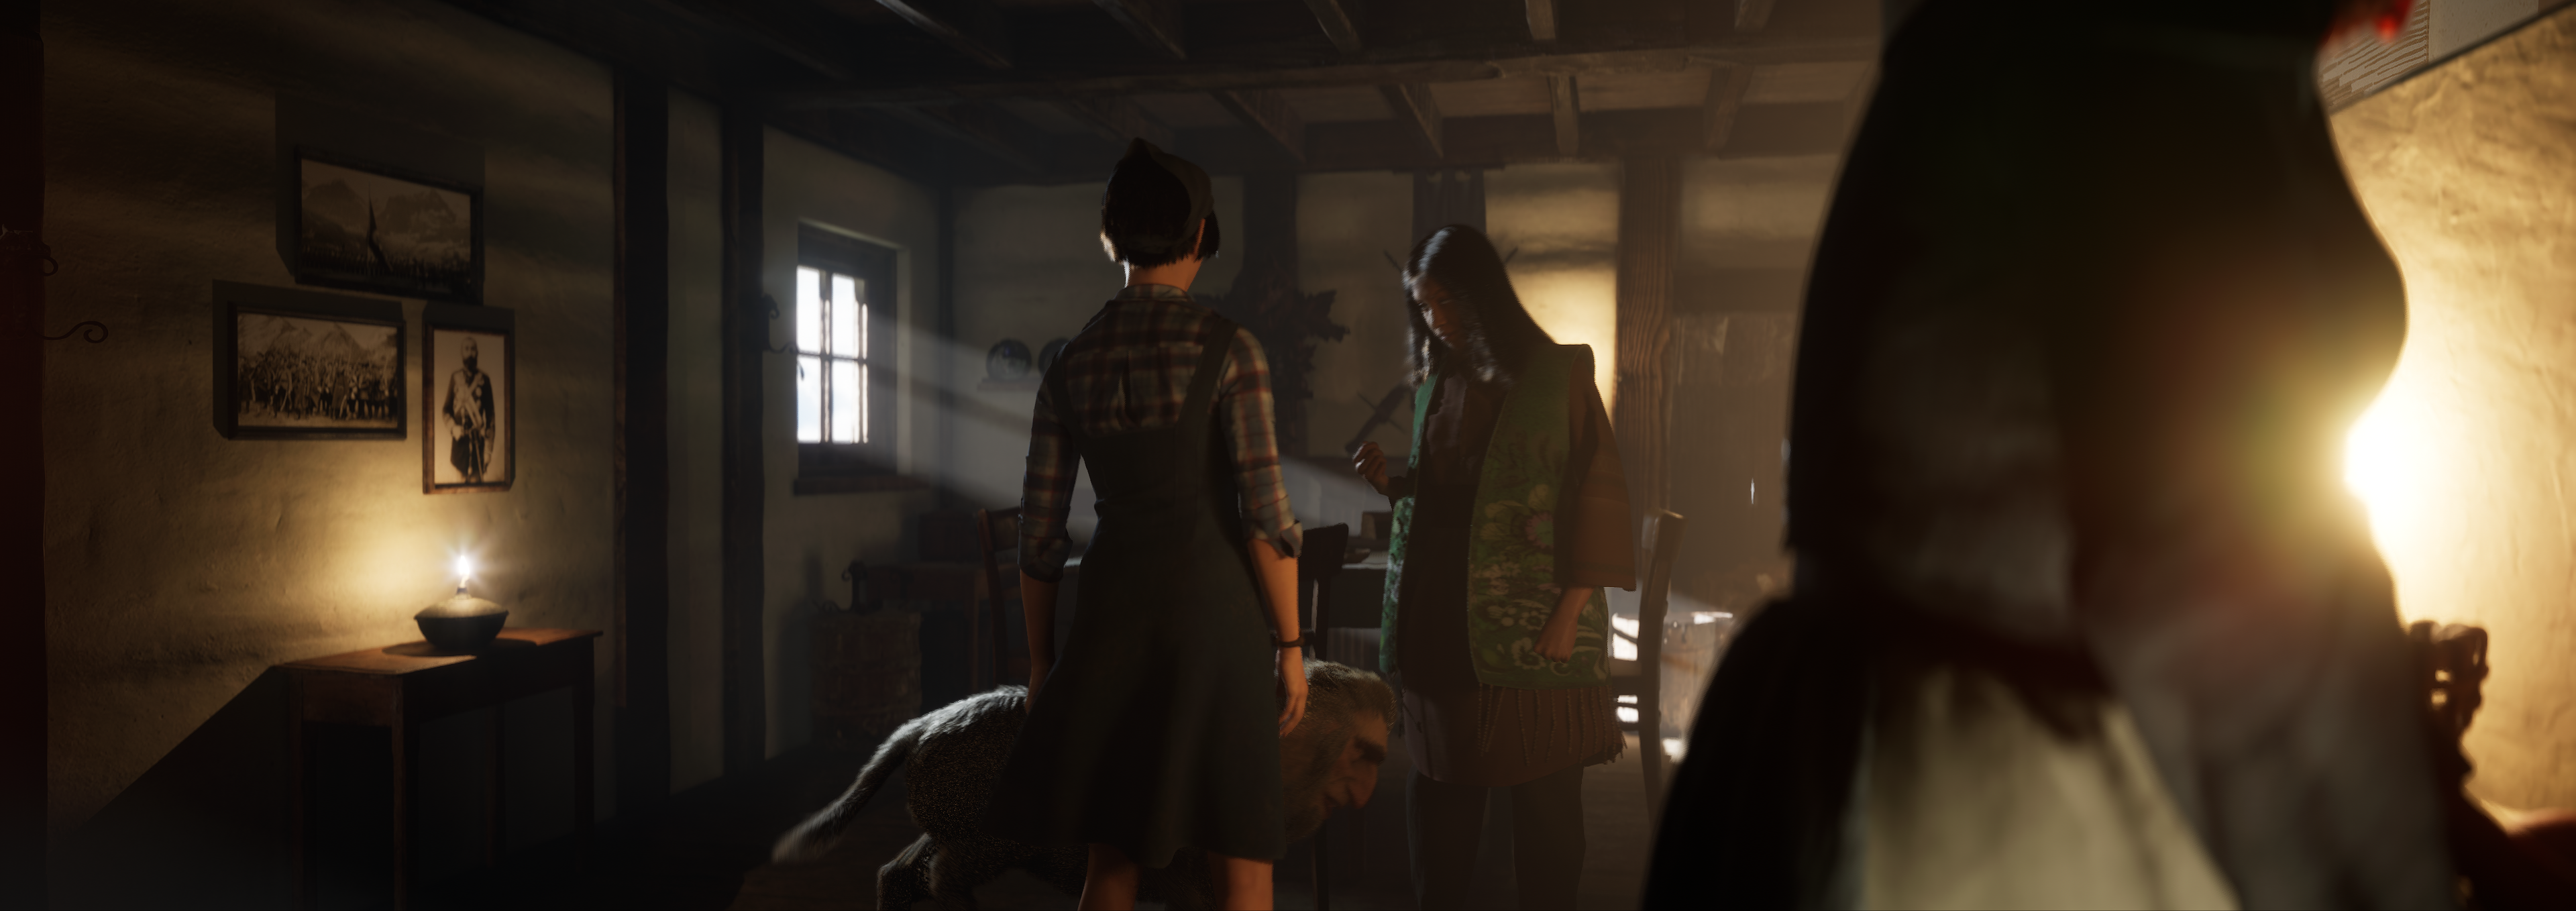
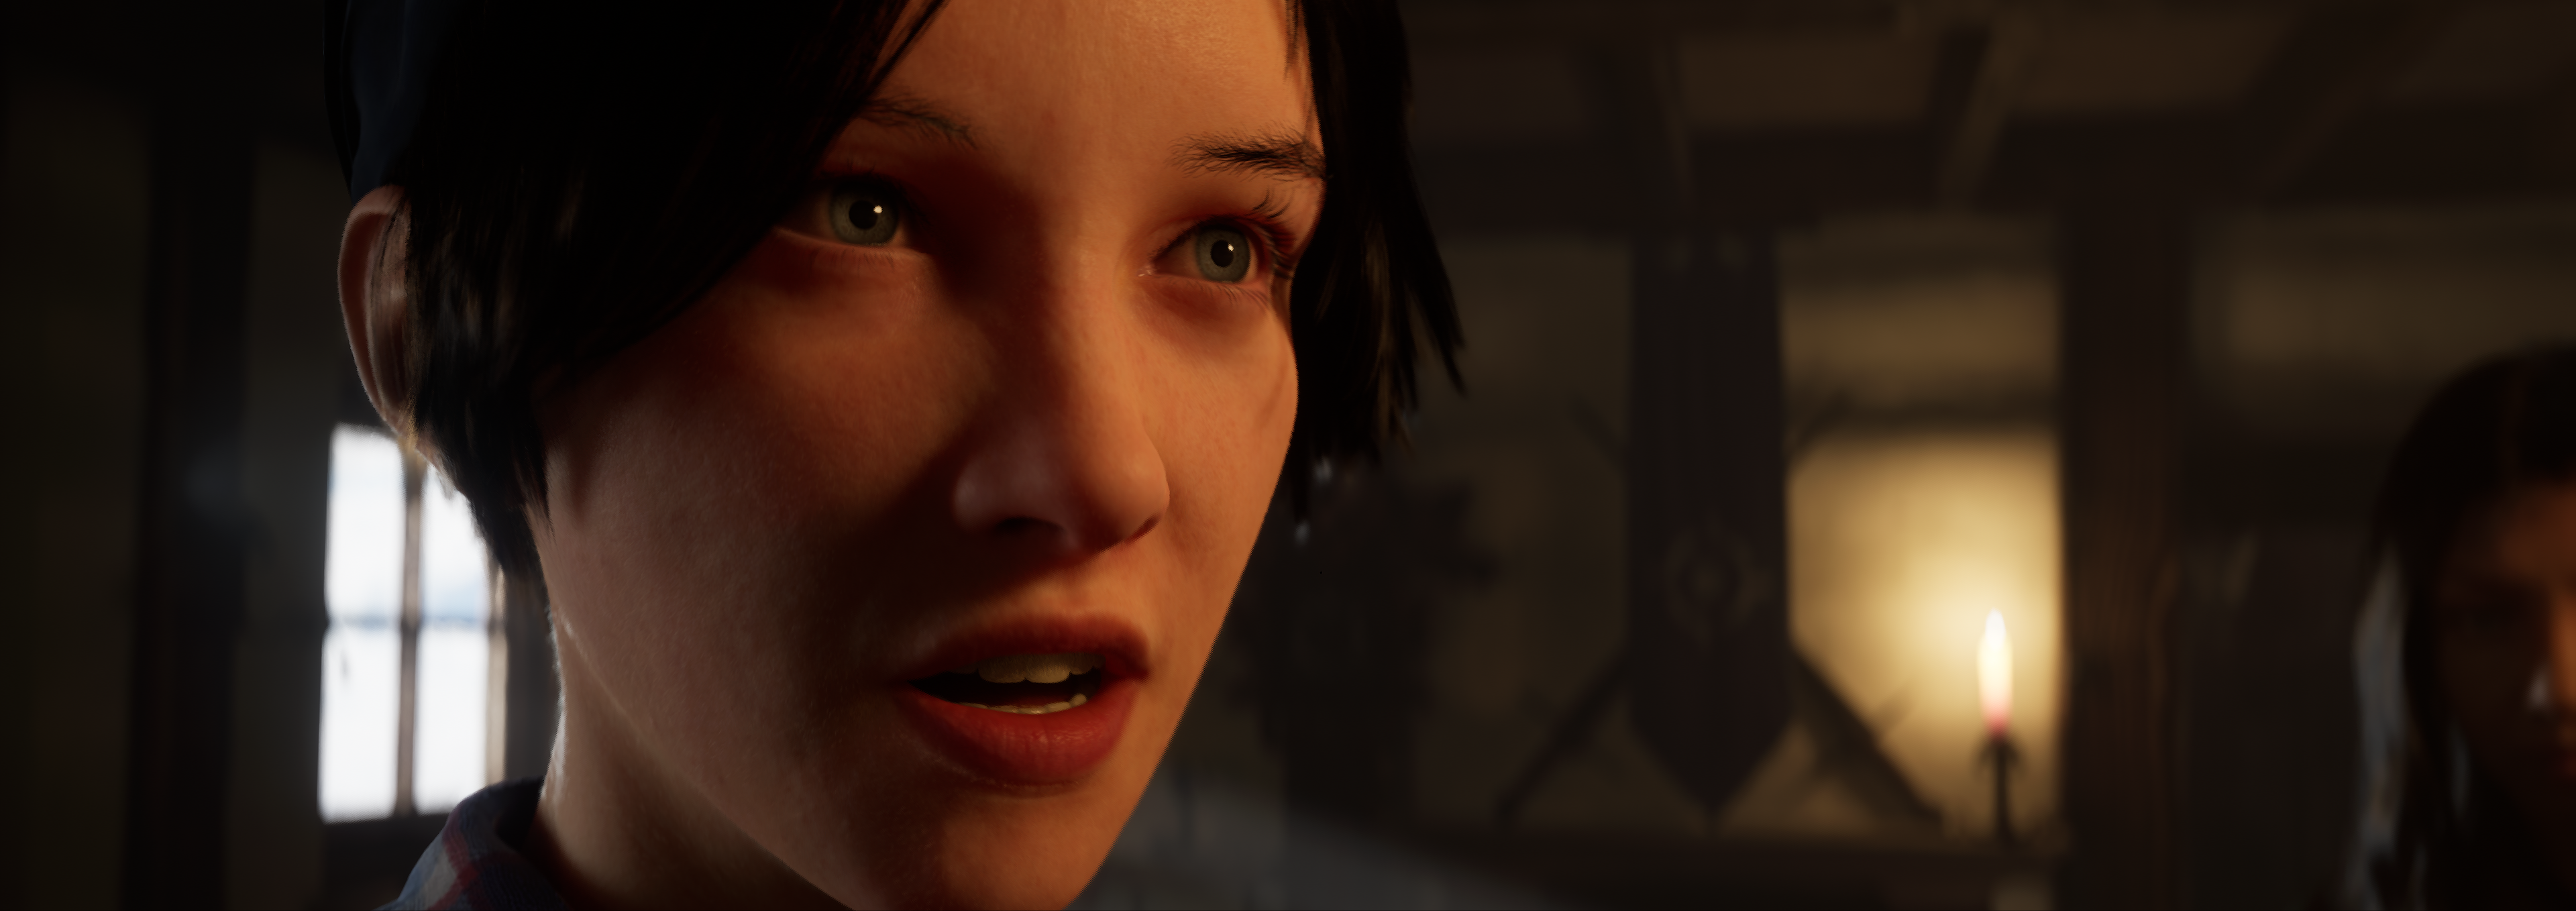
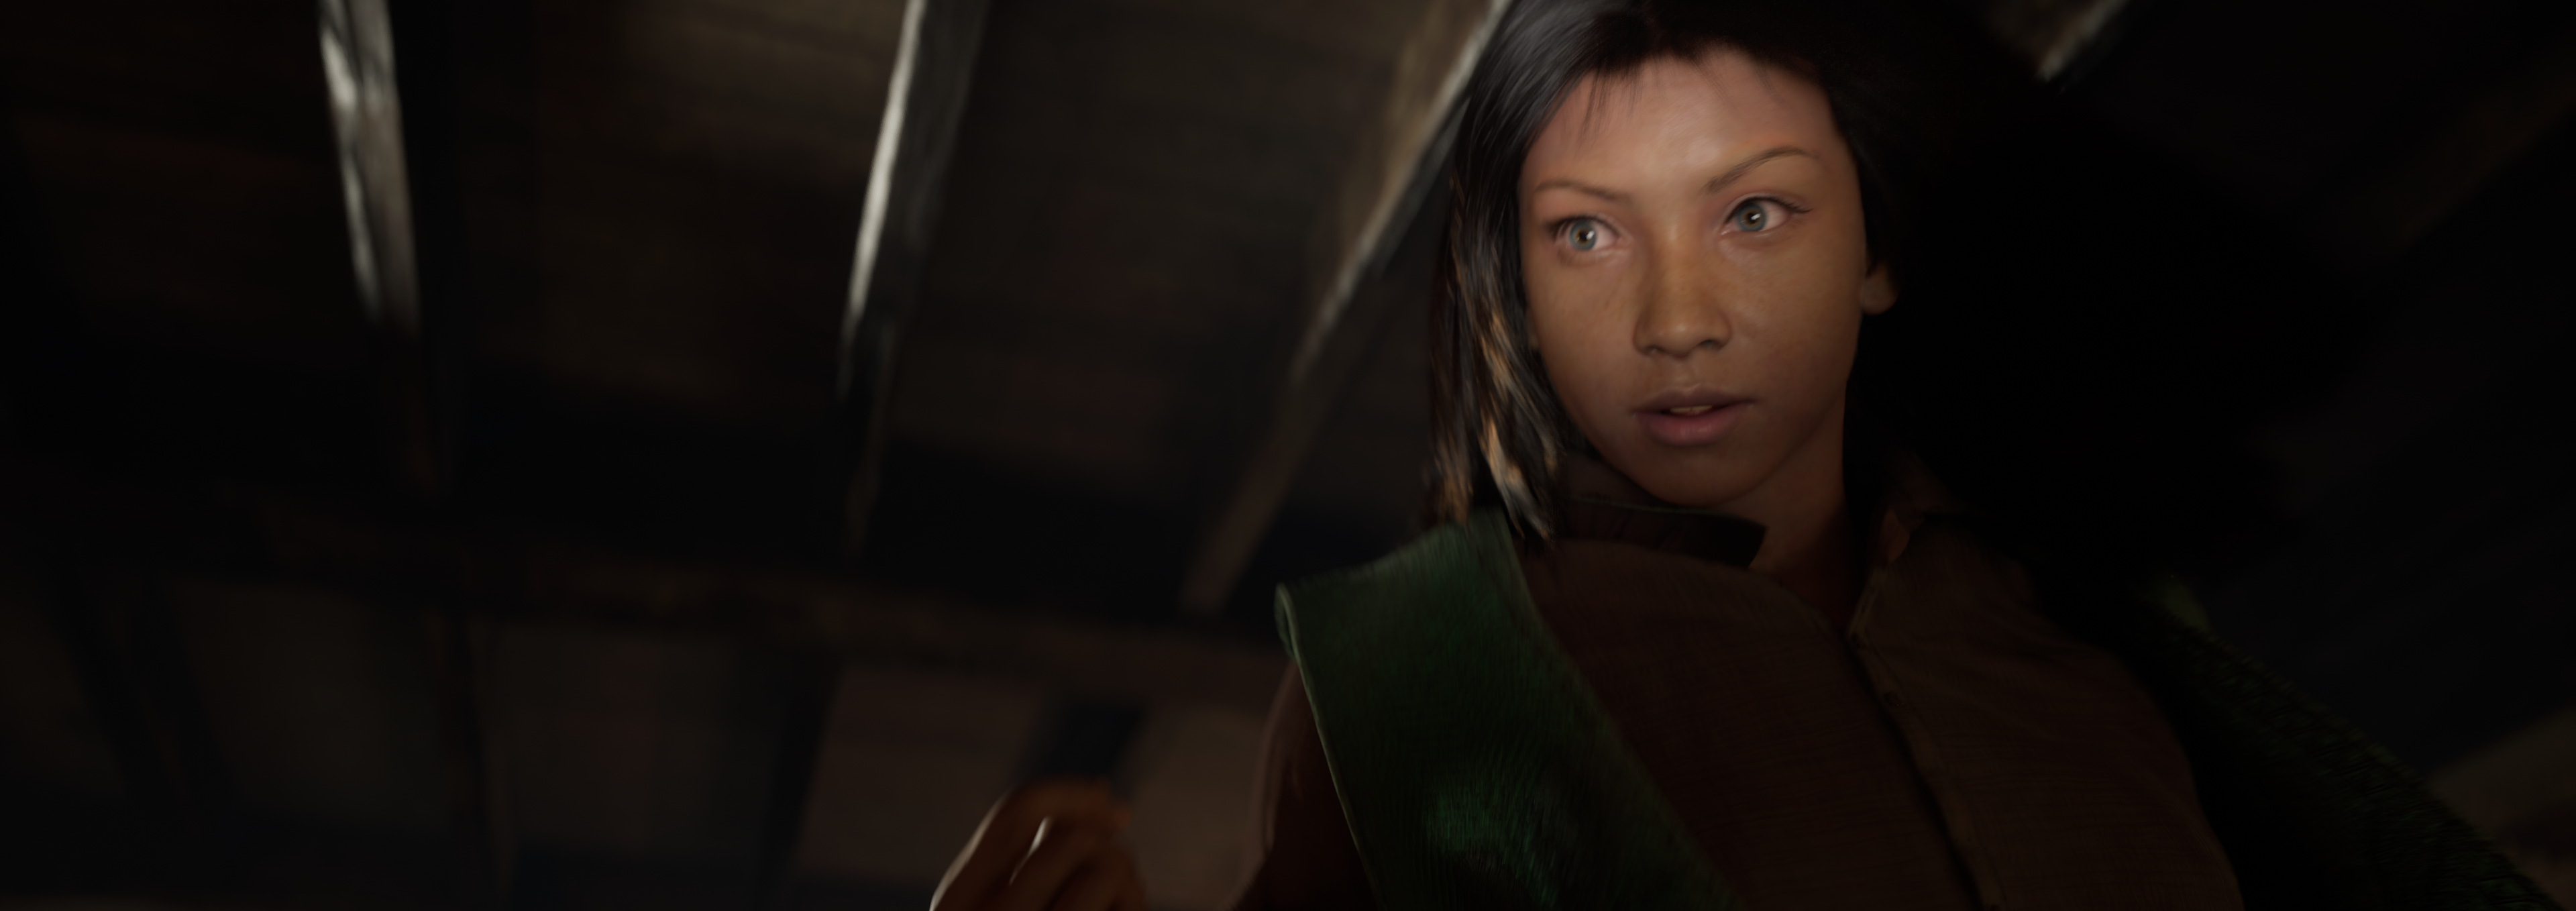
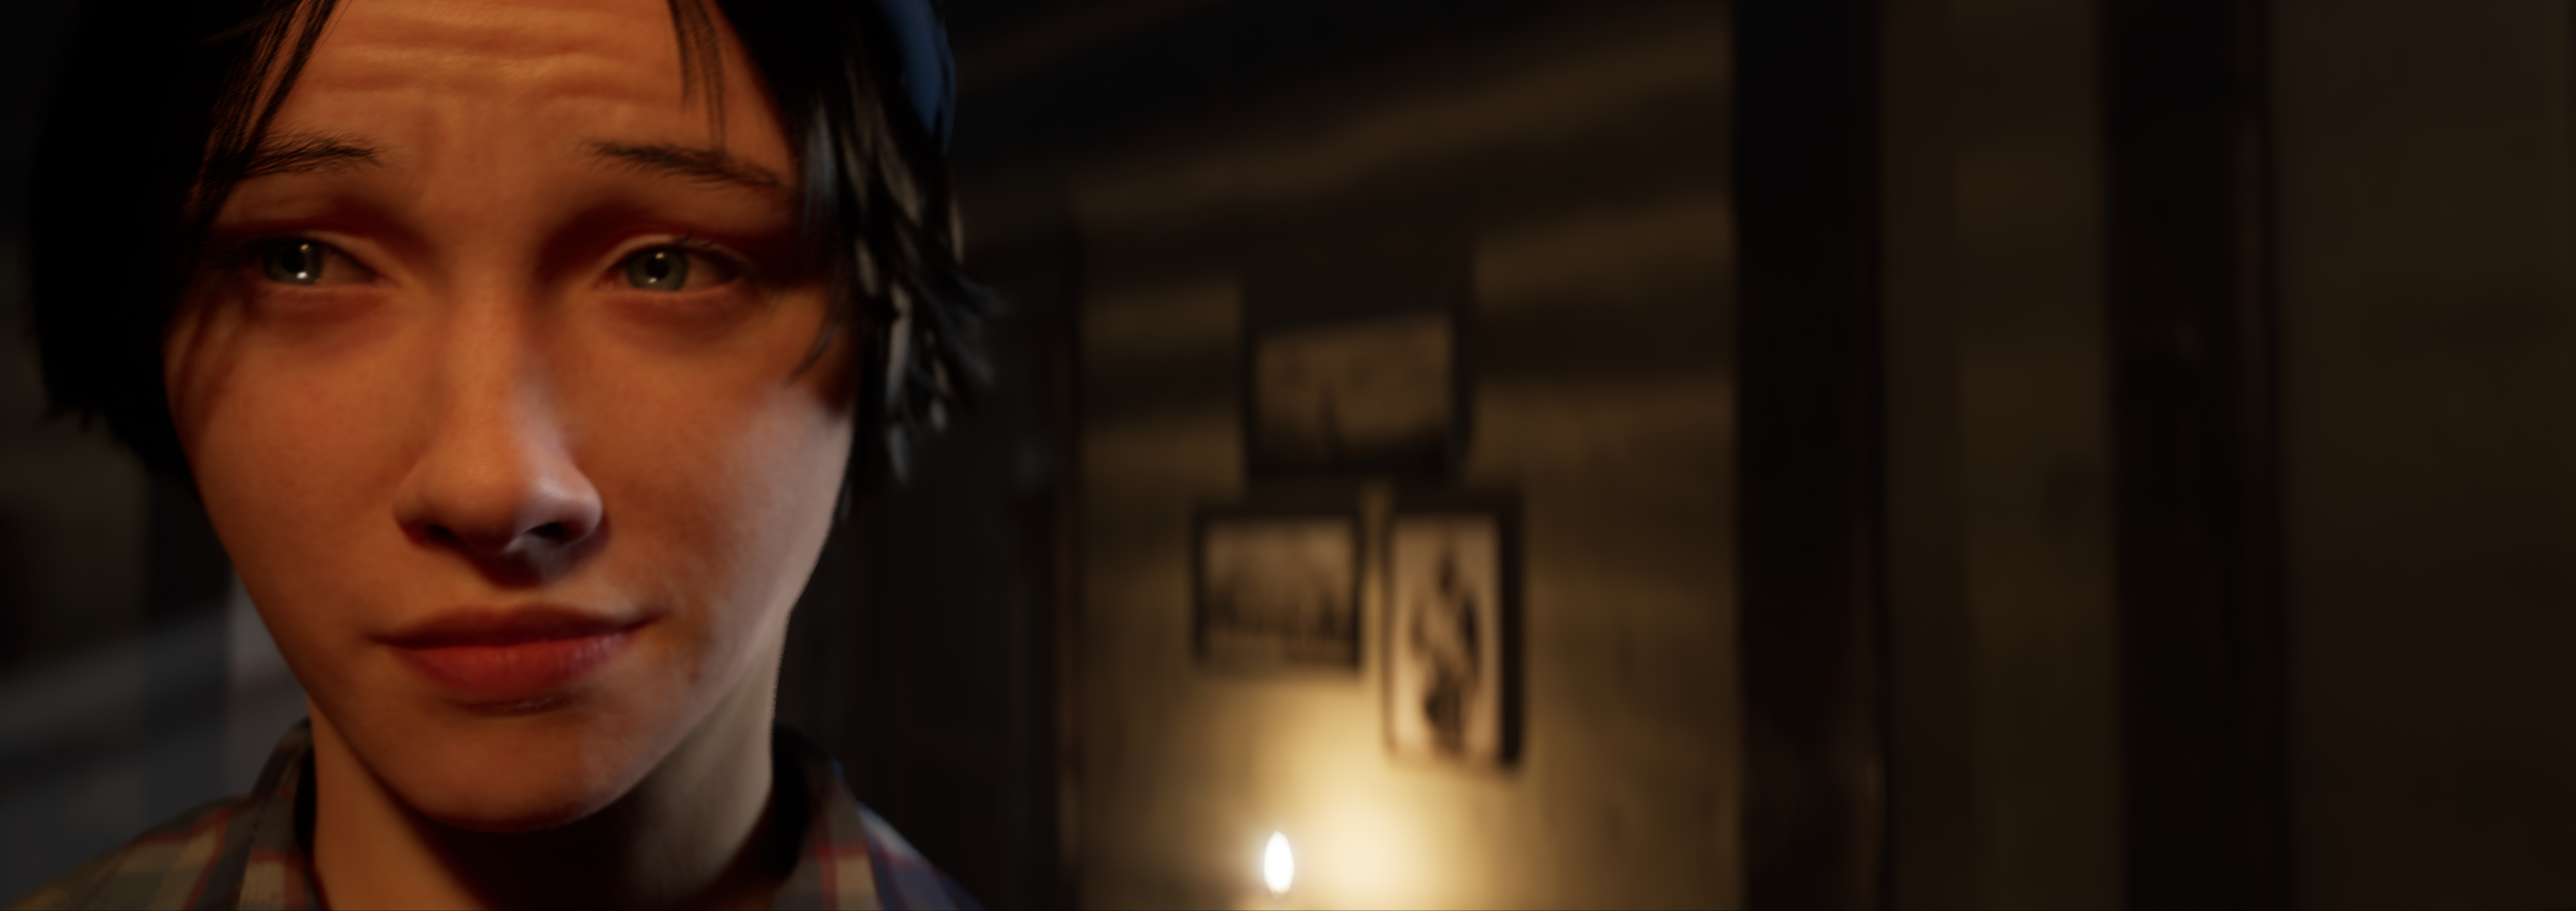
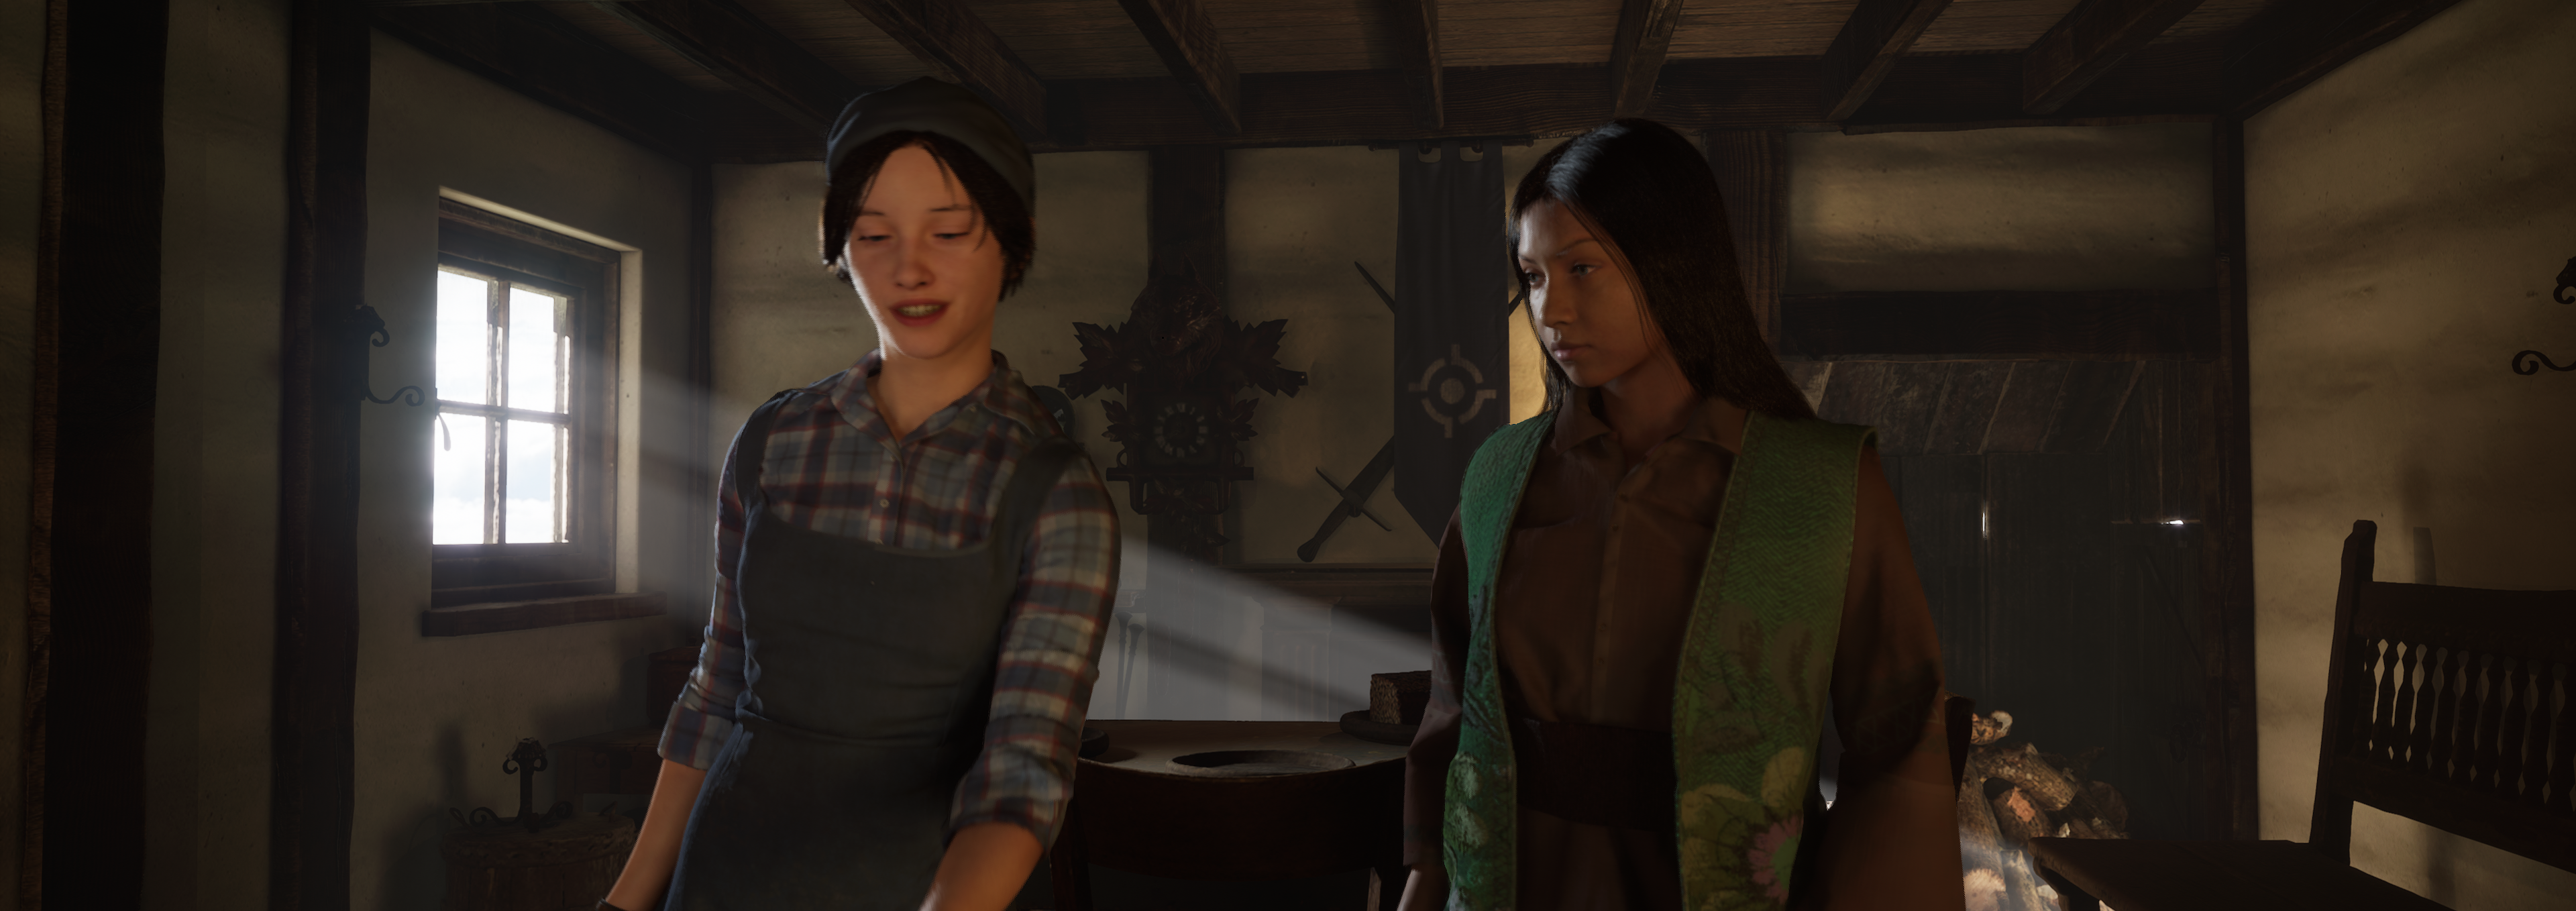
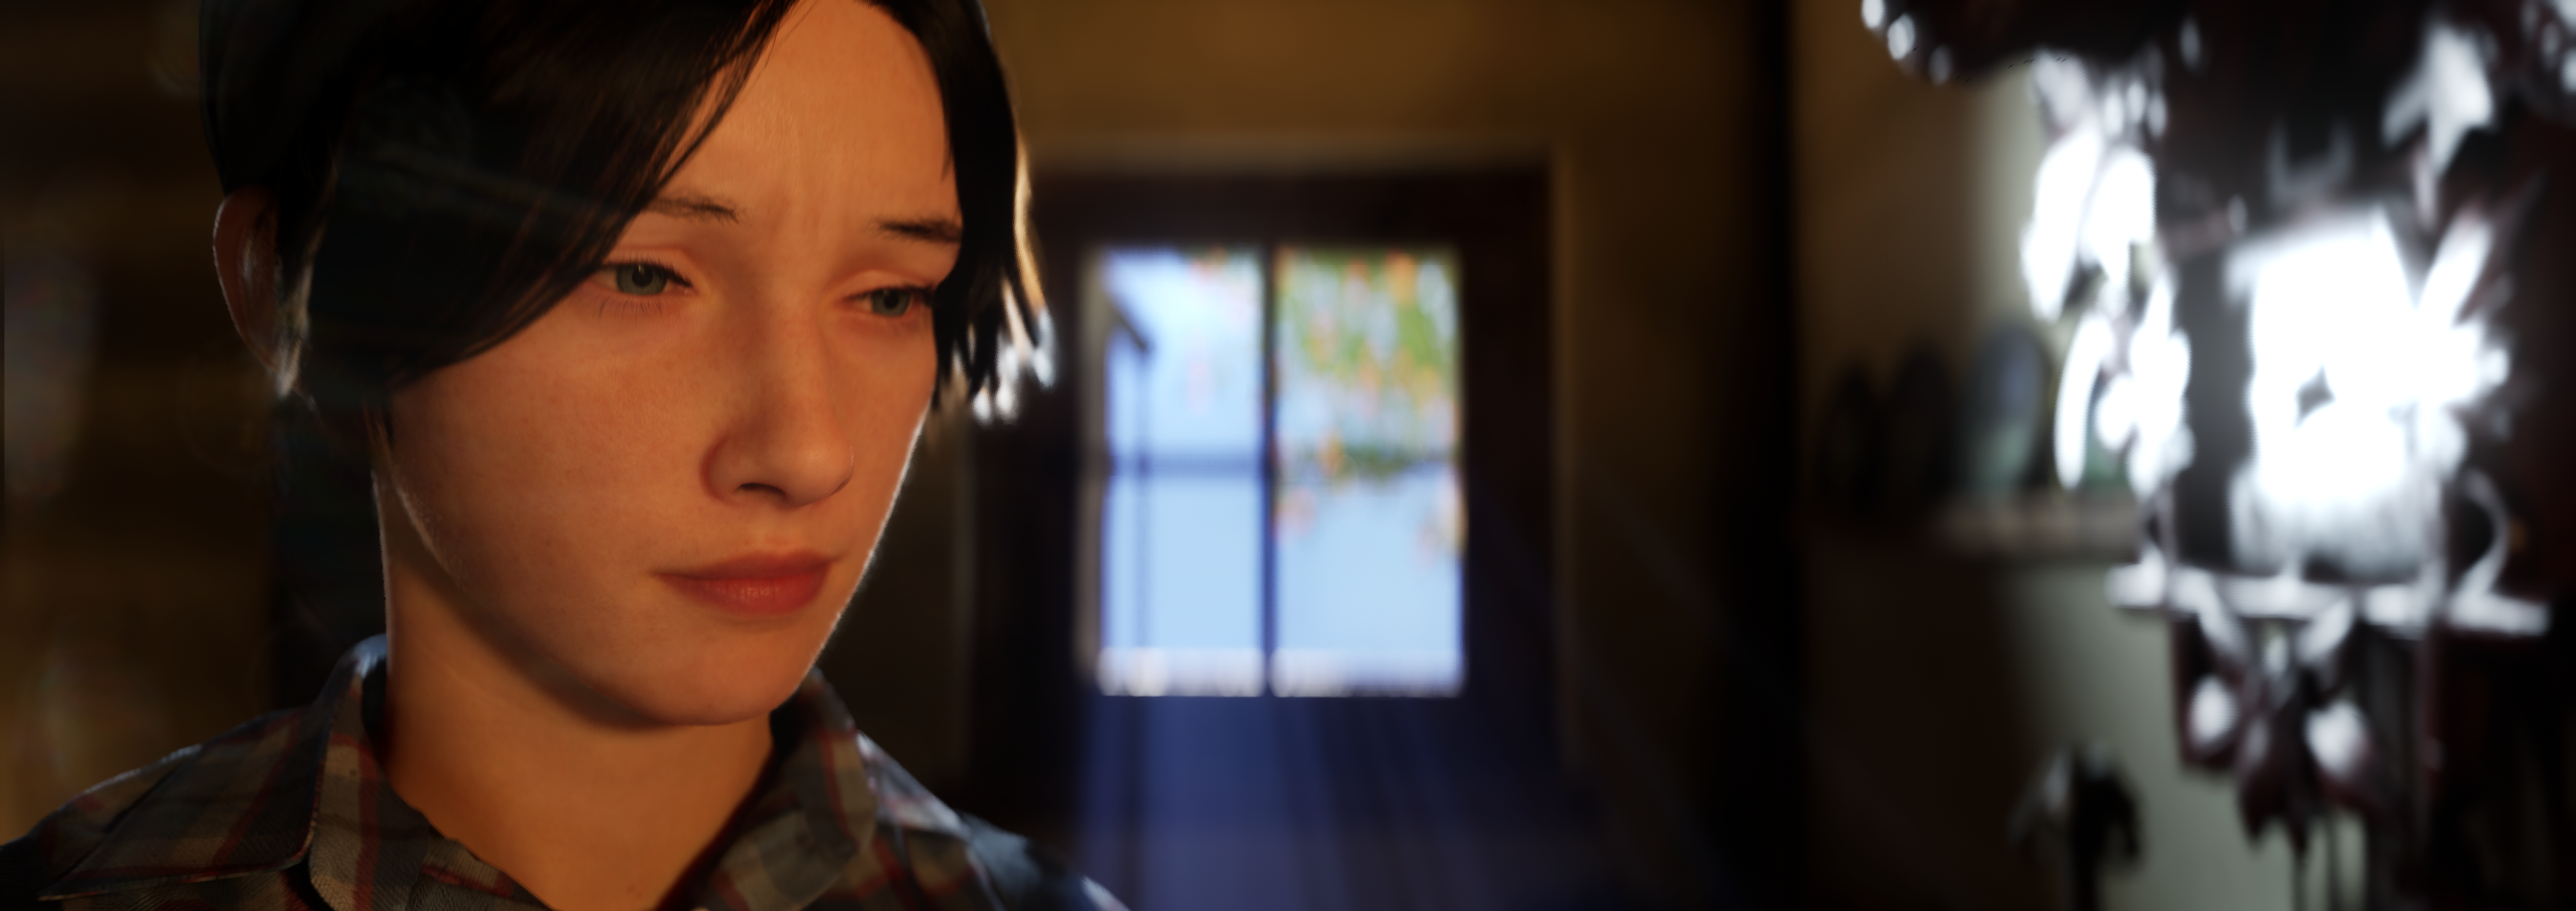
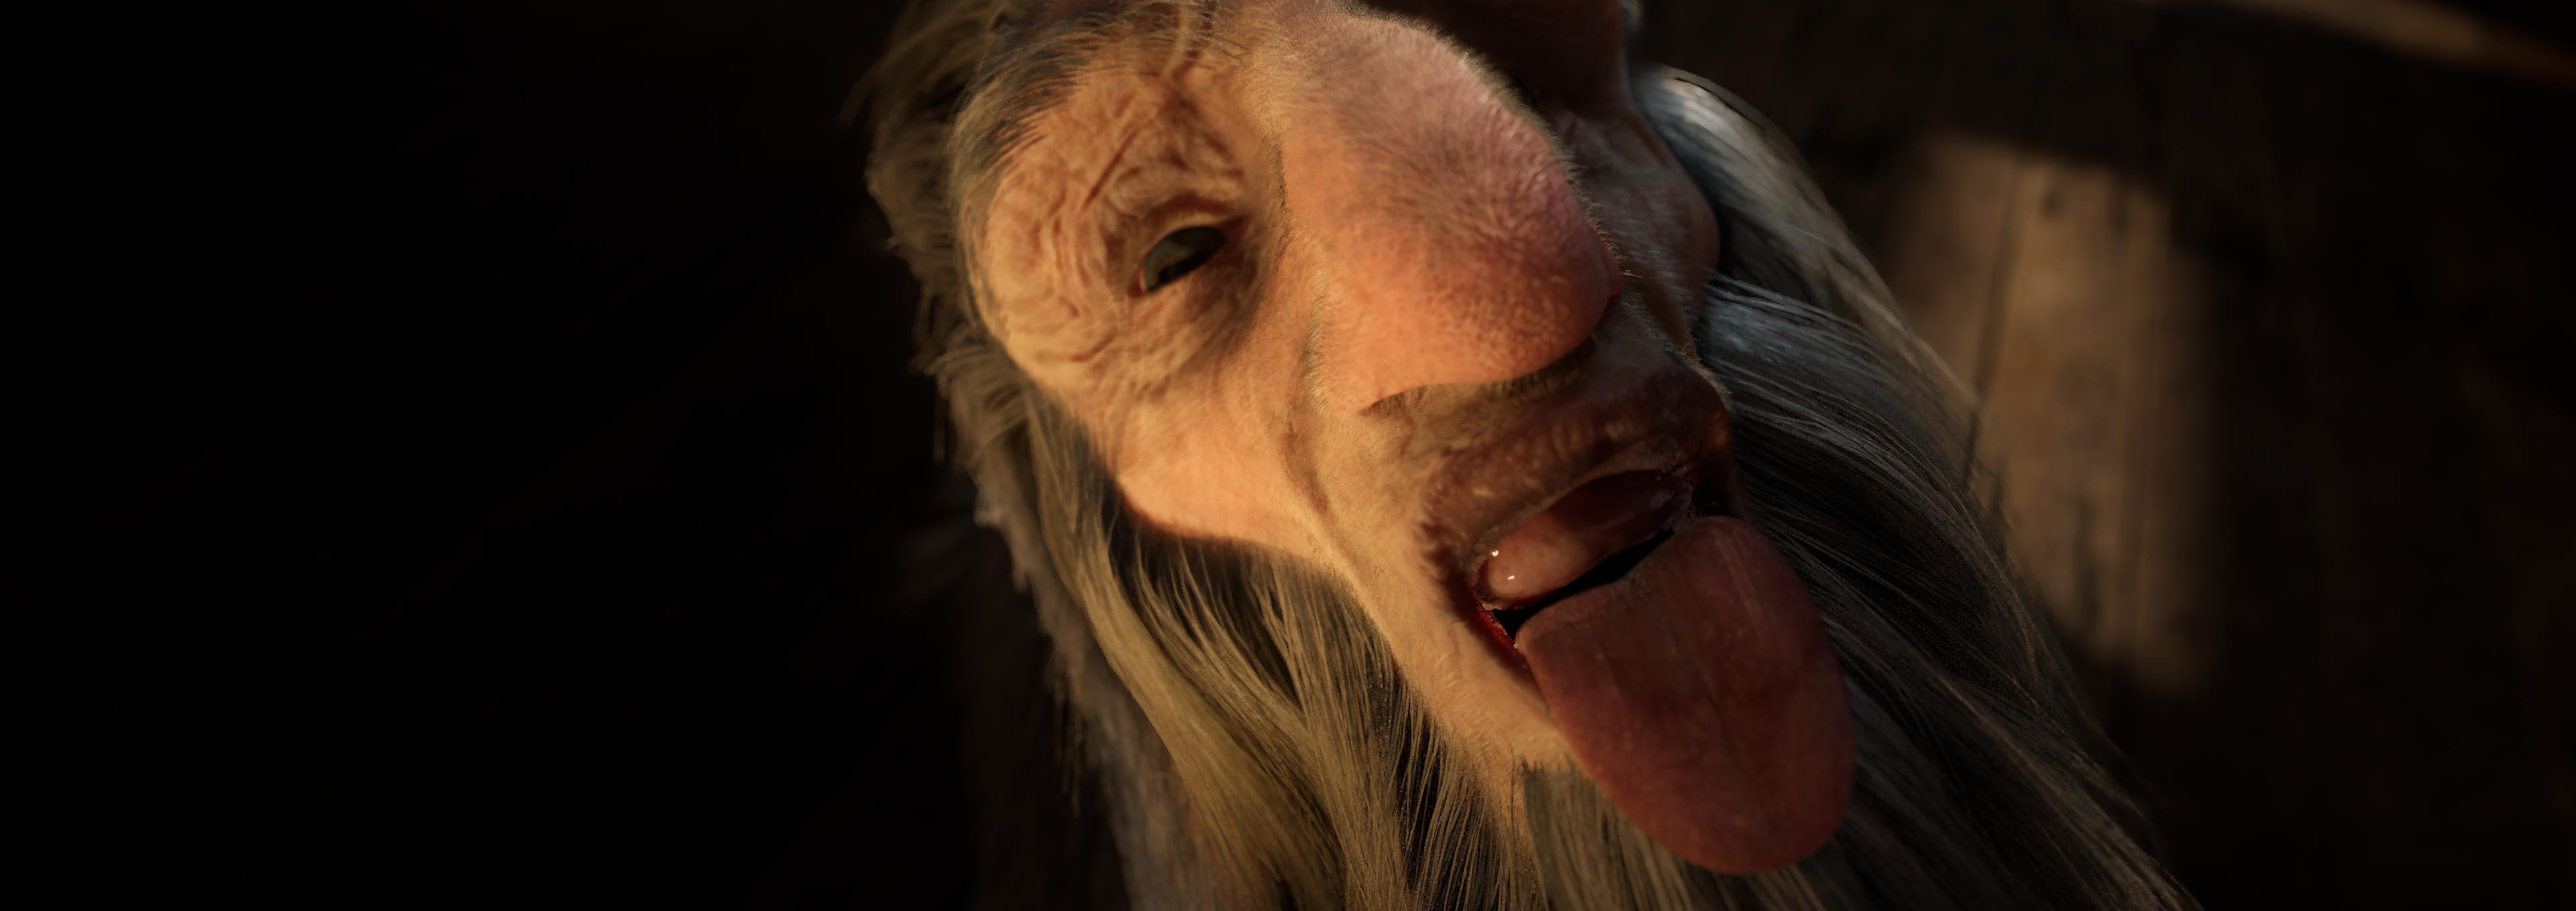
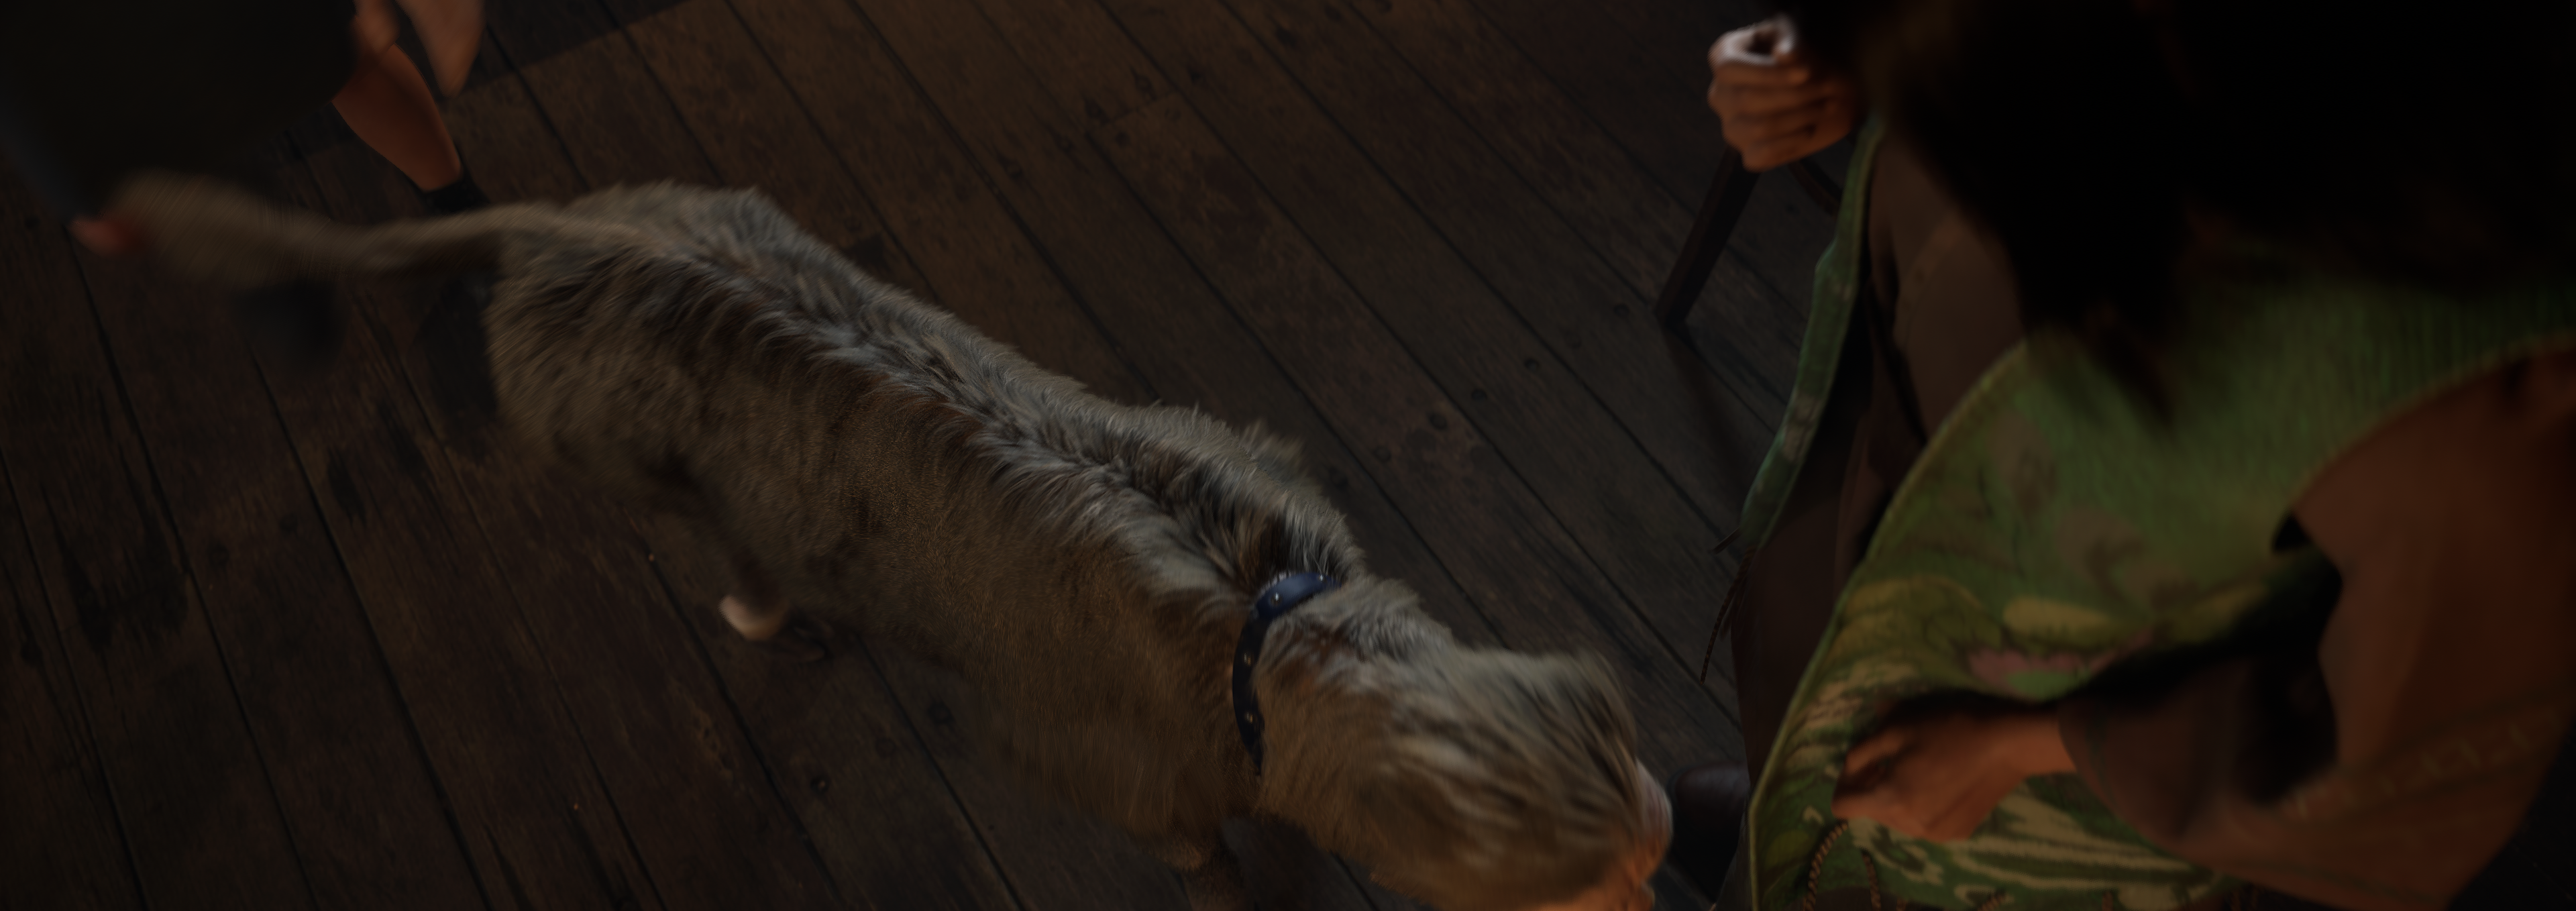
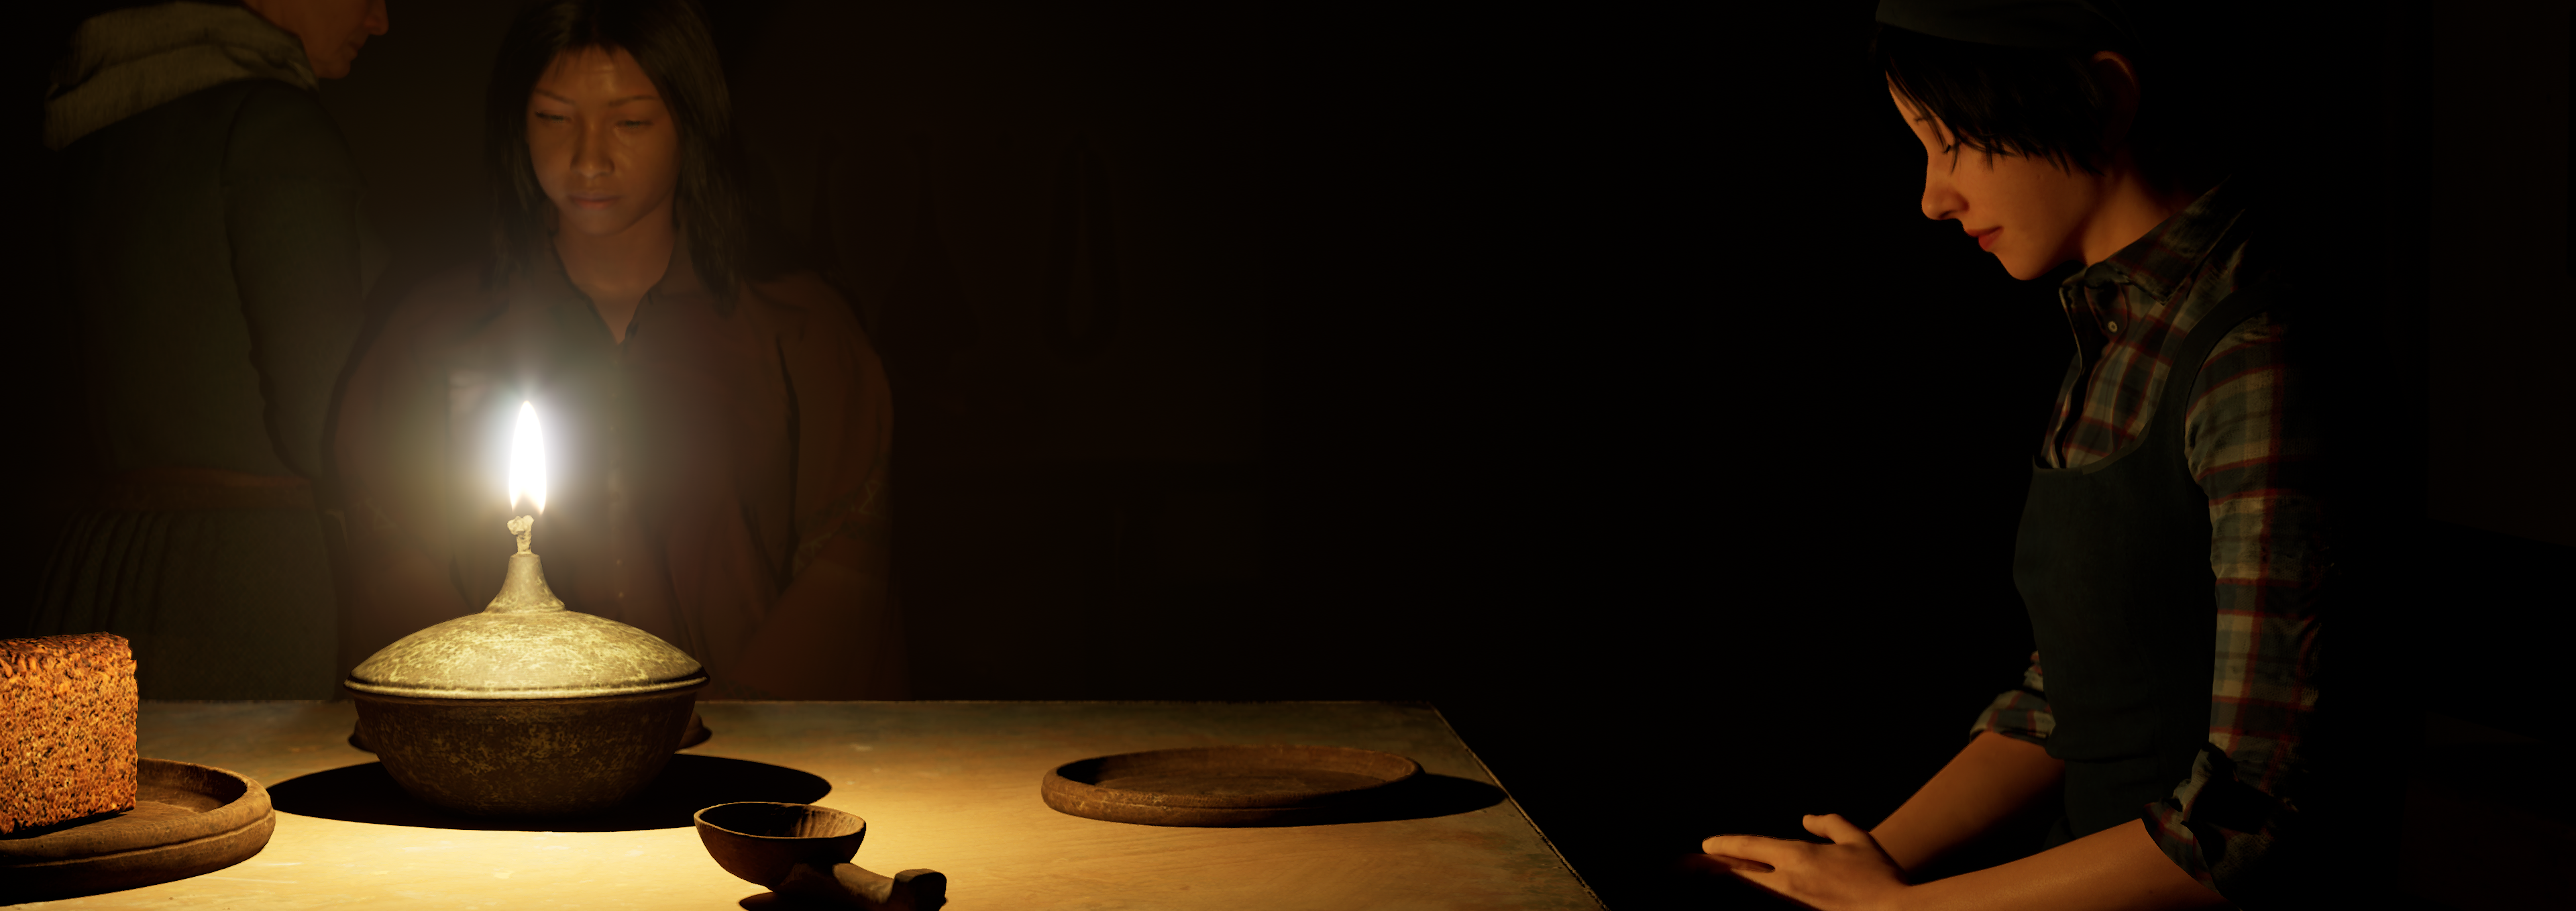
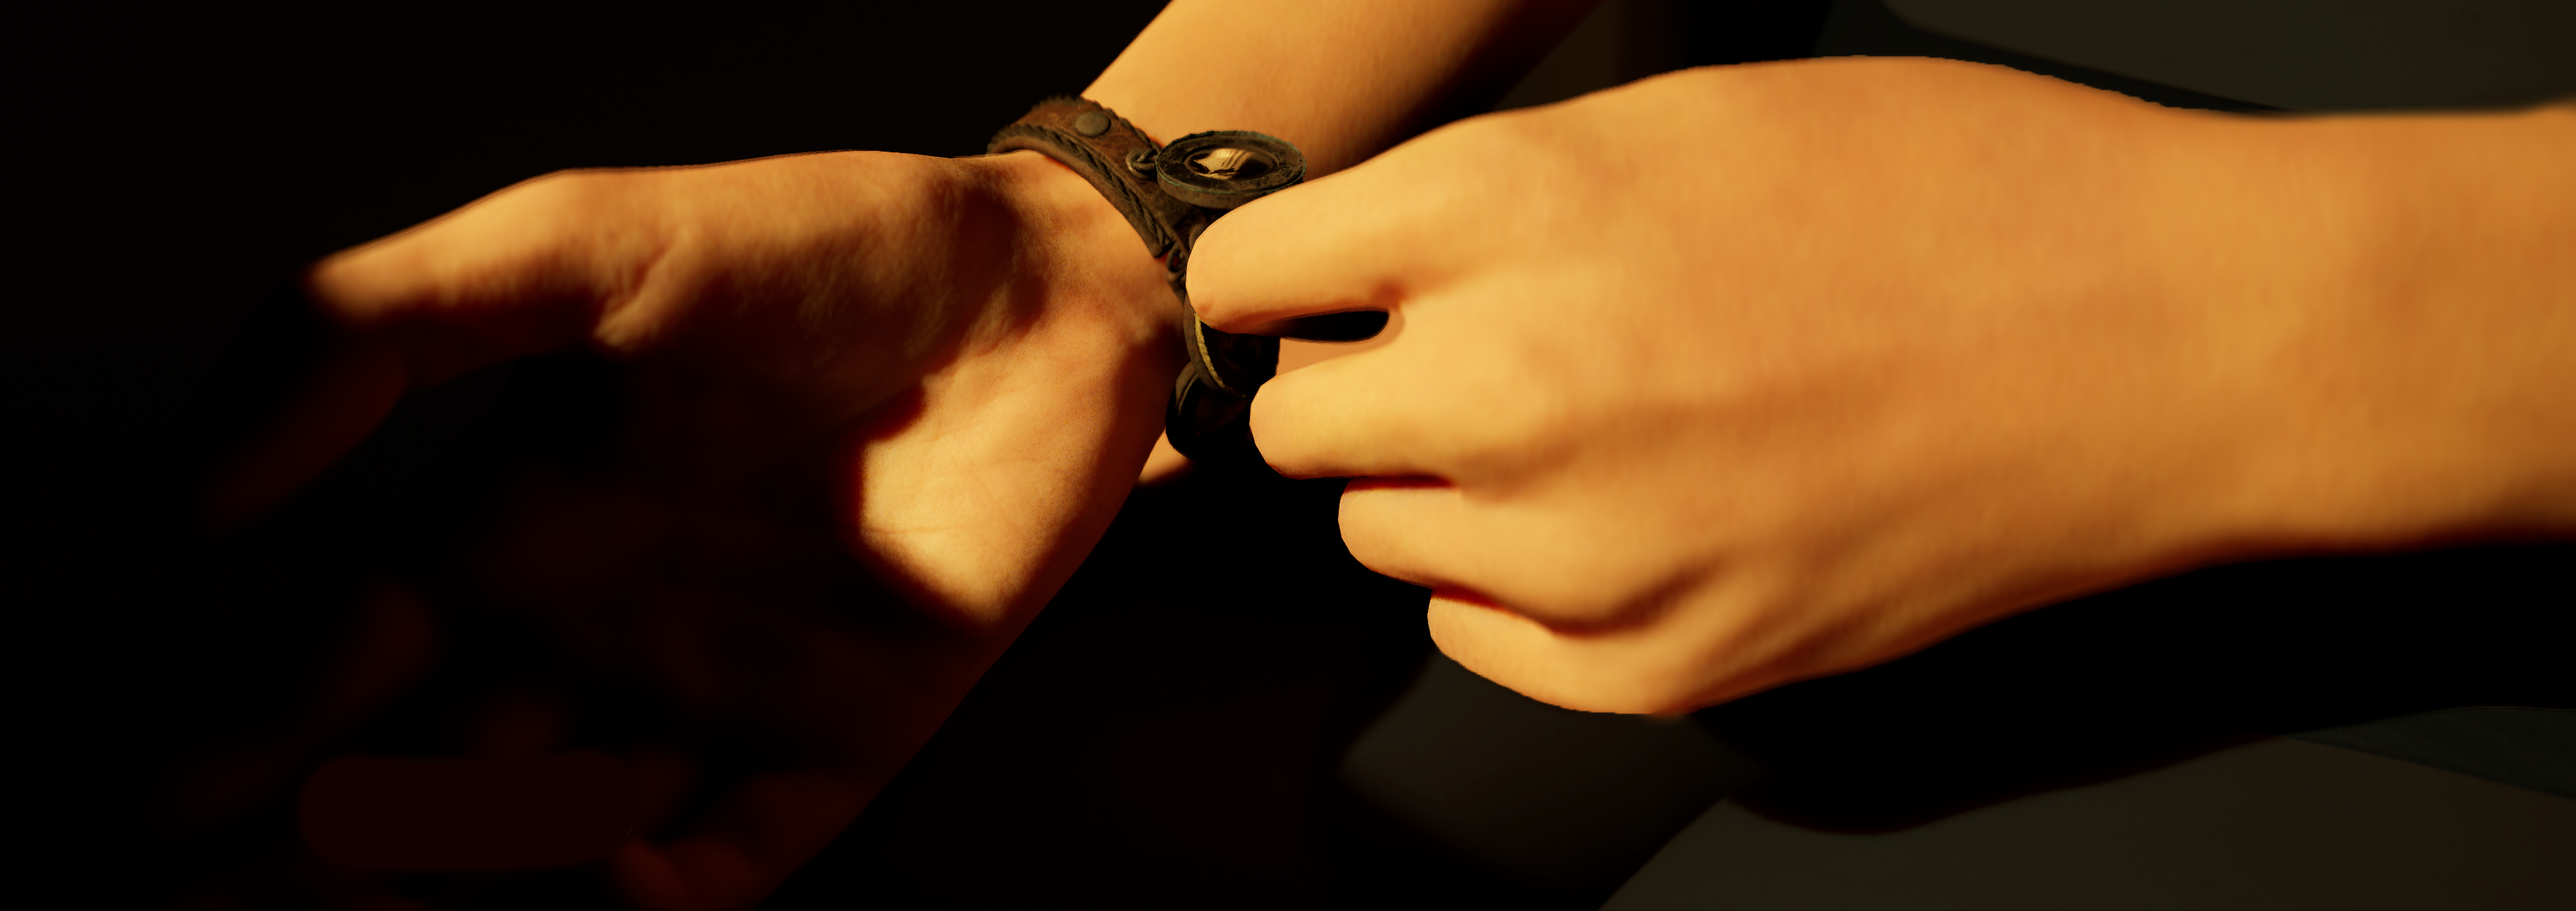
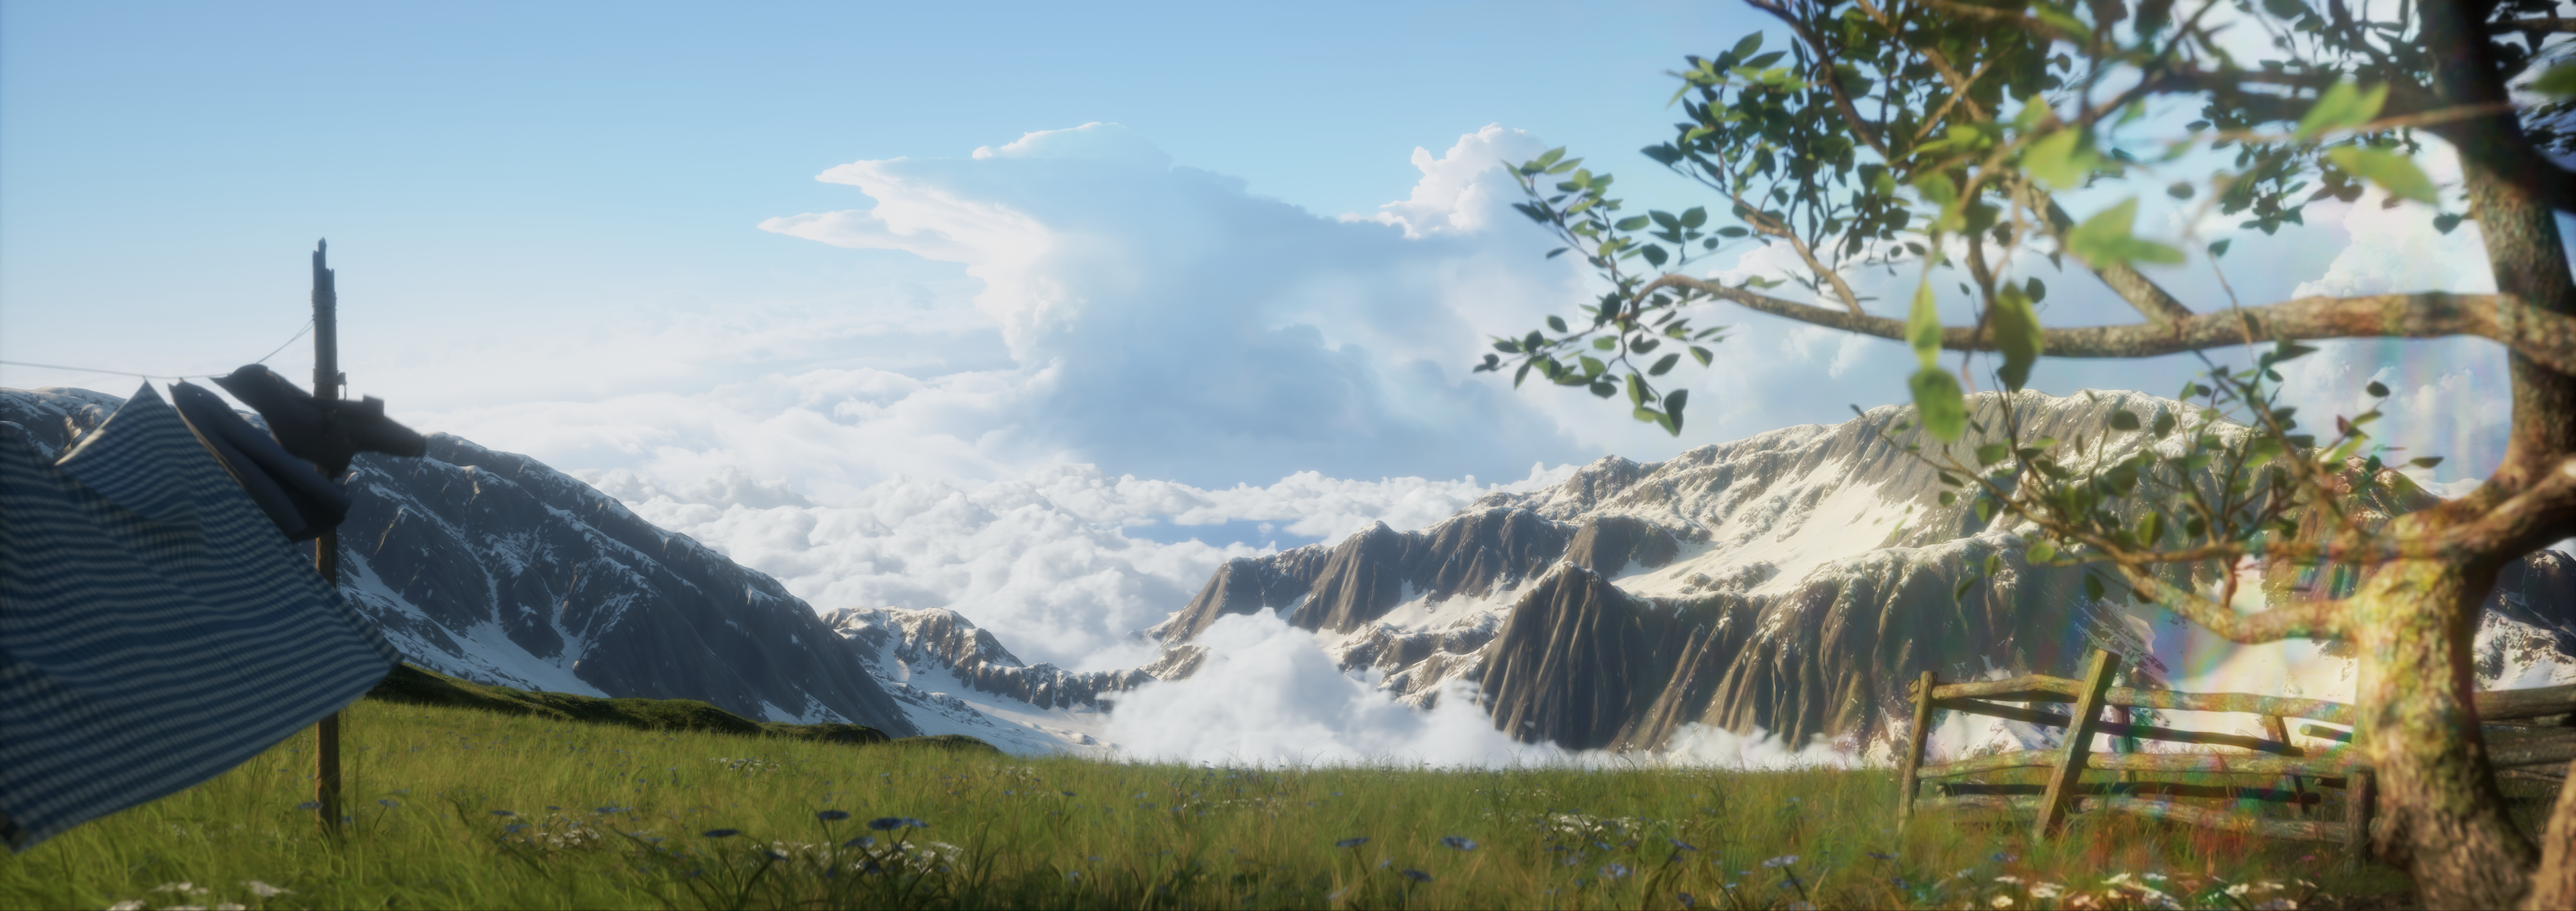
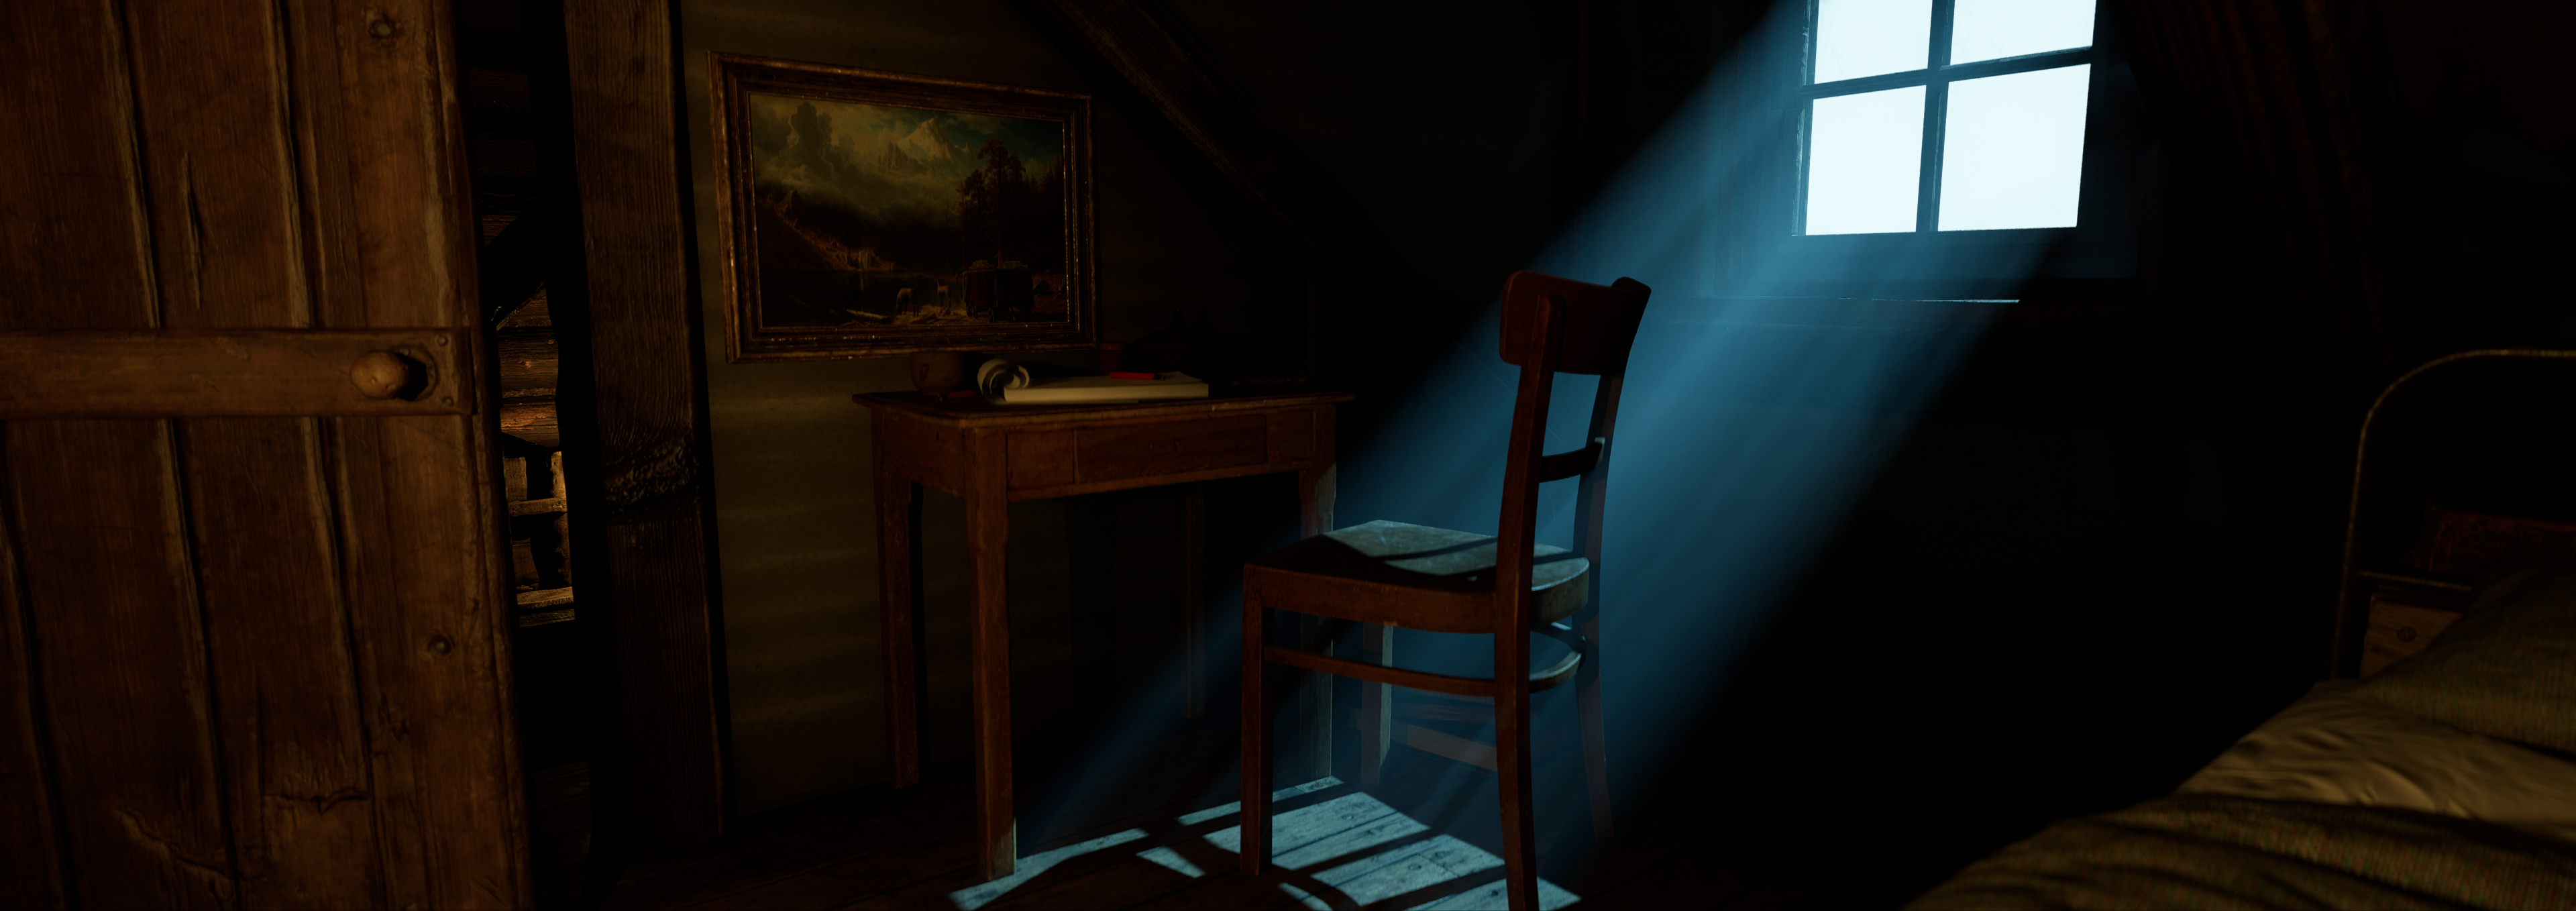
We’ve been working hard on our sequence using the UNREAL game engine, which has been both rewarding as well as challenging. The sequence is a whole scene taken from our full 2 hour drama cut of the movie developed from the orginal motion capture sessions. It occurs early on in the film, as we are getting to know the characters and the world. We chose it as our first test scene in UNREAL because it provided a good range of challenges for our pipeline and our conversion from the late, great Softimage to the UNREAL system. The scene contains multiple talking characters that require close-ups, and it has a fully keyframe-animated character – Griot, who has a lot of fur, amogst other challenges. It has also lets us experiment with a form of set construction called “kit-bashing” where you take elements from the extensive UNREAL model library and combine them to make full sets, (In addition to modelling and texturing bespoke assets as needed.) This has proved a challenge, as the majority of UNREAL assets from the Quixel Megascan library are scanned from real life objects. So any hand made assets have had to be modelled and textured to a similar standard of realism. This has also been useful, as it’s helped us get our modelling, texturing and shader making skills up to the correct standard using Maya for modelling, Substance Painter for texture creation, and UNREAL’S internal shader node system to build the shader networks.

PREVIZ
What’s been very useful for our pipeline is utilizing all of UNREAL’S built in lighting and rendering options. As they mostly work in real-time, as UNREAL is principally a game engine, we’ve been able to do our cinematography alongside our basic blocking of characters and objects and cameras into the scene. This is great, because normally there needs to be a certain amount of back-and-forth between storyboarding/prev-viz and final render to tune the various visual elements. (For example, if you had composed a shot with characters in certain positions in the frame, an unwanted shadow/reflection that changes the feel of the composition is often only noticeable at render time, when all the light bounces and shadows are finally calculated) We’ve also had the ability to add animated focus pulling with bokeh as well as motion blur, vignetting and a proper anamorphic lens aspect ratio. (Anamorphic lenses were the ideal choice for us, as they give a very cinematic and epic feel that works perfectly for our story.)

FACE ANIMATION
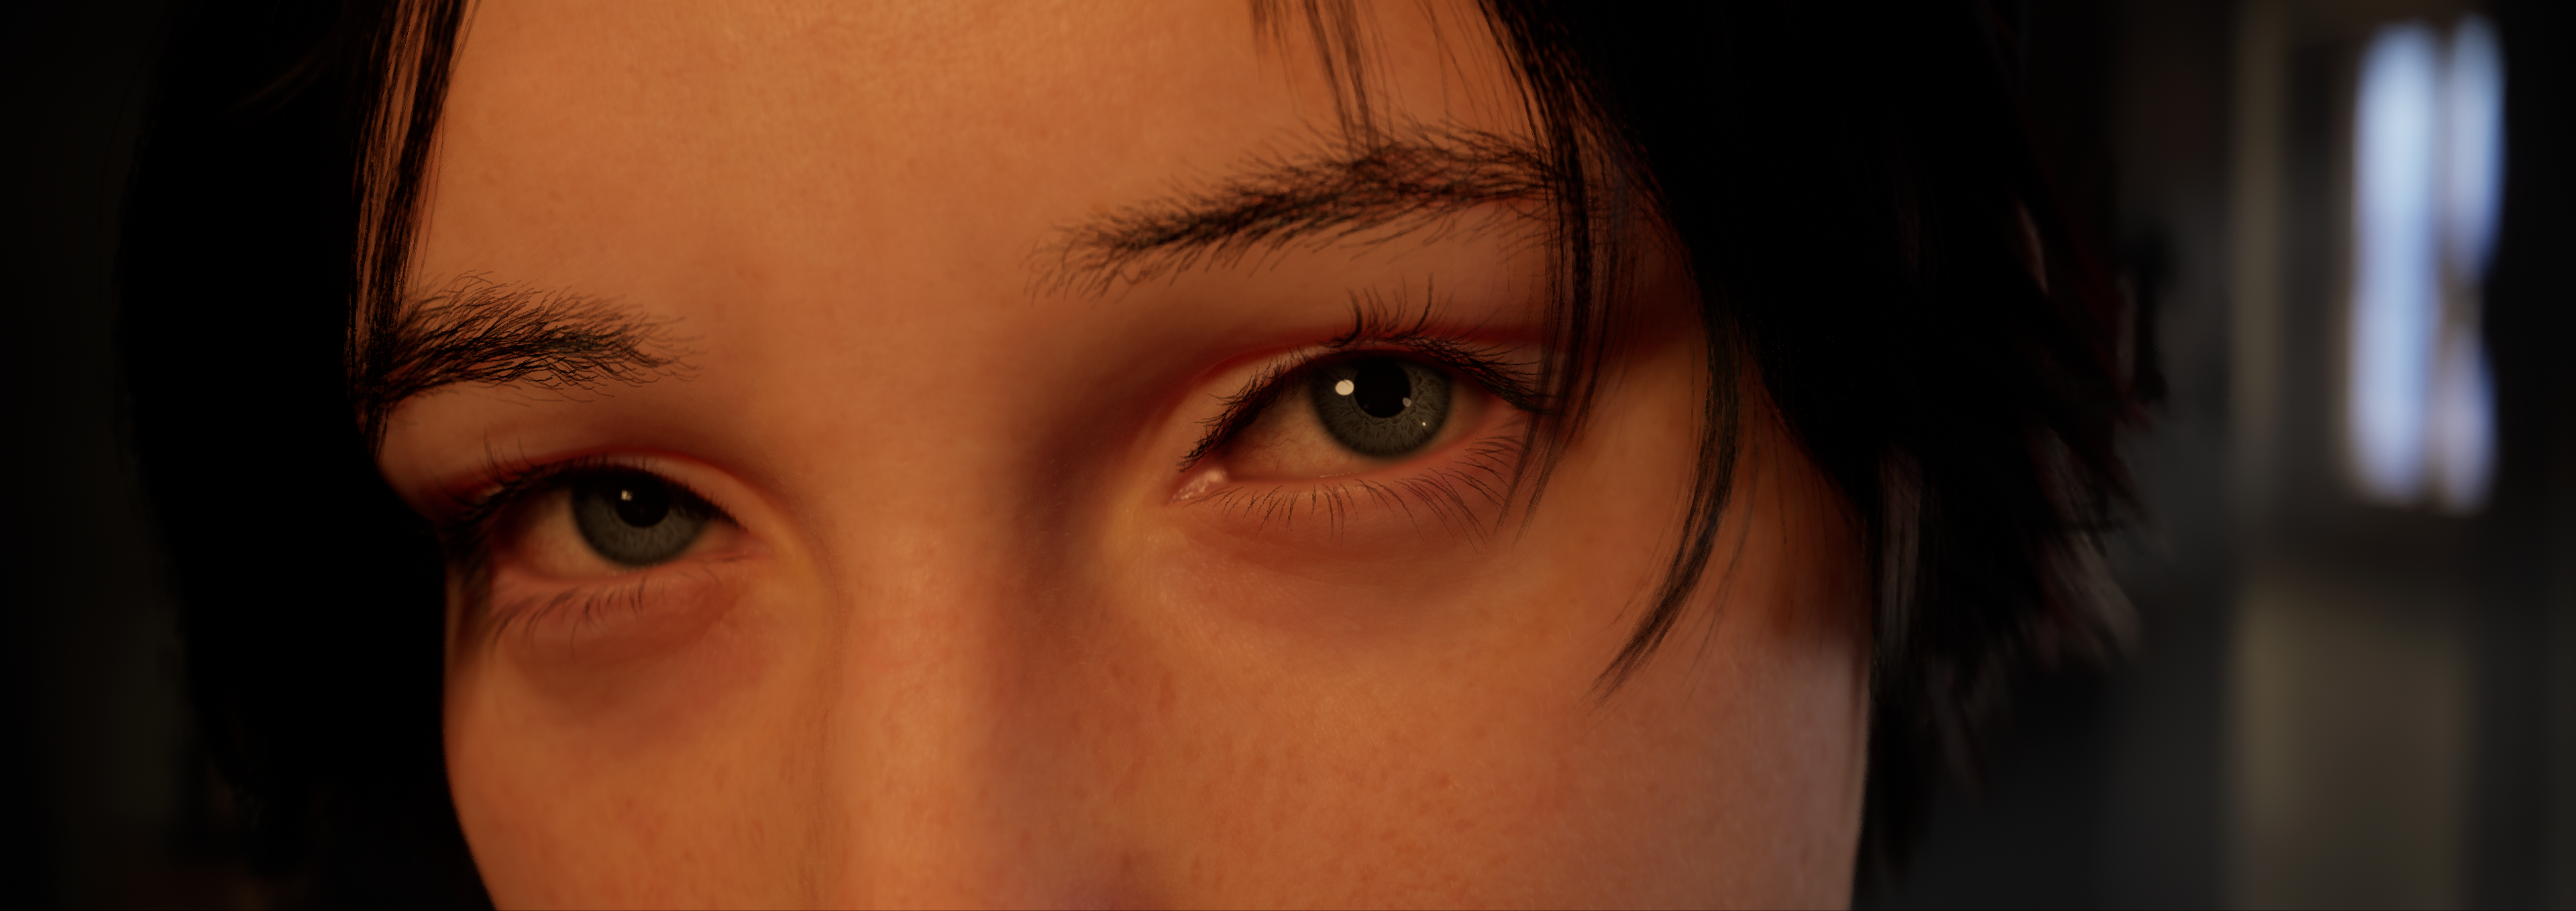
Another challenge has been face animation. This time around we had UNREAL’s Metahuman face rig which gave us a great base to animate from. For capturing the motion from our actors video performances we for FACEGOOD. A great piece of software that as well as being free for our required use (Amazing! please stay free!) also allowed us to get a a good 70-80 percent of the way to capturing the nuances of our actors’ performances before needing a few animation cleanup passes at the end. This has allowed us to be very reactive with the camera early on in the blocking phase, and do what directors always dream of doing – Catching those sparks of magic in the performance, those little looks and glances that really sell a scene. It’s allowed us to be very organic with evolving the scene and has taken us in new directions in places, as we react to little performance beats that then feed into new editing ideas, and even completely new shots.
CLOTH
One big challenge was how to deal with the huge amount of data transfer required to get frame-by-frame cloth caches in from our external cloth simulation software: Clo 3d and Marvelous Designer. As it turned out, UNREAL has been happy to take multiple huge caches of cloth data for our characters’ clothing (8000 frames in one case!) and allows us to play it back pretty much in real time. (A lot of this is thanks to the University giving us a beast of a machine to work on with an RTX 4090 graphics card – Gaming nerds will be very jealous of this!)
RIGGING
One big challenge we had was re-creating our character rigging assets in UNREAL and Maya. The biggest of all was Griot who needed a full facial animation system to be created as well as dynamic ear/tail and a dynamic medal hanging from his neck. We couldn’t use UNREAL Metahuman for this, as we have for all of our human characters, so we elected to copy our original system from Softimage and rebuild it all in Maya. This slowed our animation pipeline down, as there are a lot of face sculpts and process we needed to rebuild to get his face working convincingly again, but now we have a solid rig from which to develop further animation for future scenes:
METAHUMAN
Thanks to UNREAL’S Metahuman system we have been able to lean on their excellent facial animation systems (That work well with FACEGOOD) as well as their texturing and shading solutions which look great far away and in super close up. The only big problem we had with Metahuman (please fix this EPIC!) is that it only comes in 3 proportion sizes – small/medium/large. In our Softimage pipeline we had a rigging solution which allowed us to translate the exact proportions of all of our actors onto our rigs. this doesn’t work in UNREAL, and you have to compromise, but hopefully this will get fixed in future versions of the software. We are currently animating the tricky finger interactions in our scene in Maya (lots of eating!) that we then transfer onto our Metahuman rigs in UNREAL.
We also tried to get our Stina actress: Becky’s face directly into Metahuman as a possible option to replace our Stina face sculpt. This would have a lot of advantages; the biggest being a one-to-one equivalence between the performance and the CGI. We had a made a face cast of her back in the day plus a good amount of reference footage, and we got a good likeness:
It looks great! Very close to Becky. But it’s not really doing much movement in the above clip. Unfortunately, once the face started moving to capture Becky’s performance it was not so good. The extremes of the Metahumans calculated expressions did not match Becky’s at all, and in fact looked rather strange (Nothing like Becky!) So we went back to our original solution, which weirdly has translated Becky’s expressions much more accurately. The fact we now have an accurate sculpt of her face may be useful in future though.
HAIR
We went through a lot of iterations of Stina’s hair trying to get the look we were after. The hair was made in XGEN in Maya then imported to UNREAL as an alembic, where it was made into an UNREAL groom with dynamic properties. Mahdid’s hair was off-the-shelf Metahuman hair and her face sculpt was designed completely within the Metahuman system. Griot’s hair was developed from the original Softimage spline groom, then itteratted on in XGEN and exported to UNREAL. Again this was a real test of the UNREAL pipeline; he has a lot of hair! But it handled these huge caches well and did a great good job in rendering. (After a few weeks searching through Reddit threads for tips!)
RENDERING
We had 2 basic rendering solutions to choose from in UNREAL: Lumen and Path Tracing. Path tracing was theoretically more accurate and closer to our old renderer: “Arnold”, but it proved very, very slow and prone to crashes. It also seemed to lack functionality with a lot of the inbuilt-systems (smoke/hair/flares etc.) And we just couldn’t get it to work well with our scene. Lumen looks slightly more stylised, but has lovely light bounces and gave our world a nice hyper-real look that suits our production perfectly. It’s really fast and allows a lot of 2d effects we would have previously done in compositing using Nuke (like depth of field/bokeh/lens flare/glow/vignetting/chromatic aberration.)


The main issue we found was fighting its game-ready optimization systems. In Arnold it’s simply a matter of turning up the samples to get a better look. In Lumen there are many completely separate systems at work optimizing everything from shadows to hair volumes to light bounces leaking into other frames. And on a few occasions these systems were really noticeable in-camera. This is a very different way of working for us, and has required a lot of diving into reddit forums and general confusion as we try and work out what is a bug and what is a feature! (The software is still technically in Beta so is constantly evolving.) Most issues we’ve found have been fixed now, and any remaining will have a Nuke fix or two. But overall we’ve managed to use just UNREAL pretty much the same as our traditional CGI film pipeline, and it’s worked surprisingly well.
TEAM
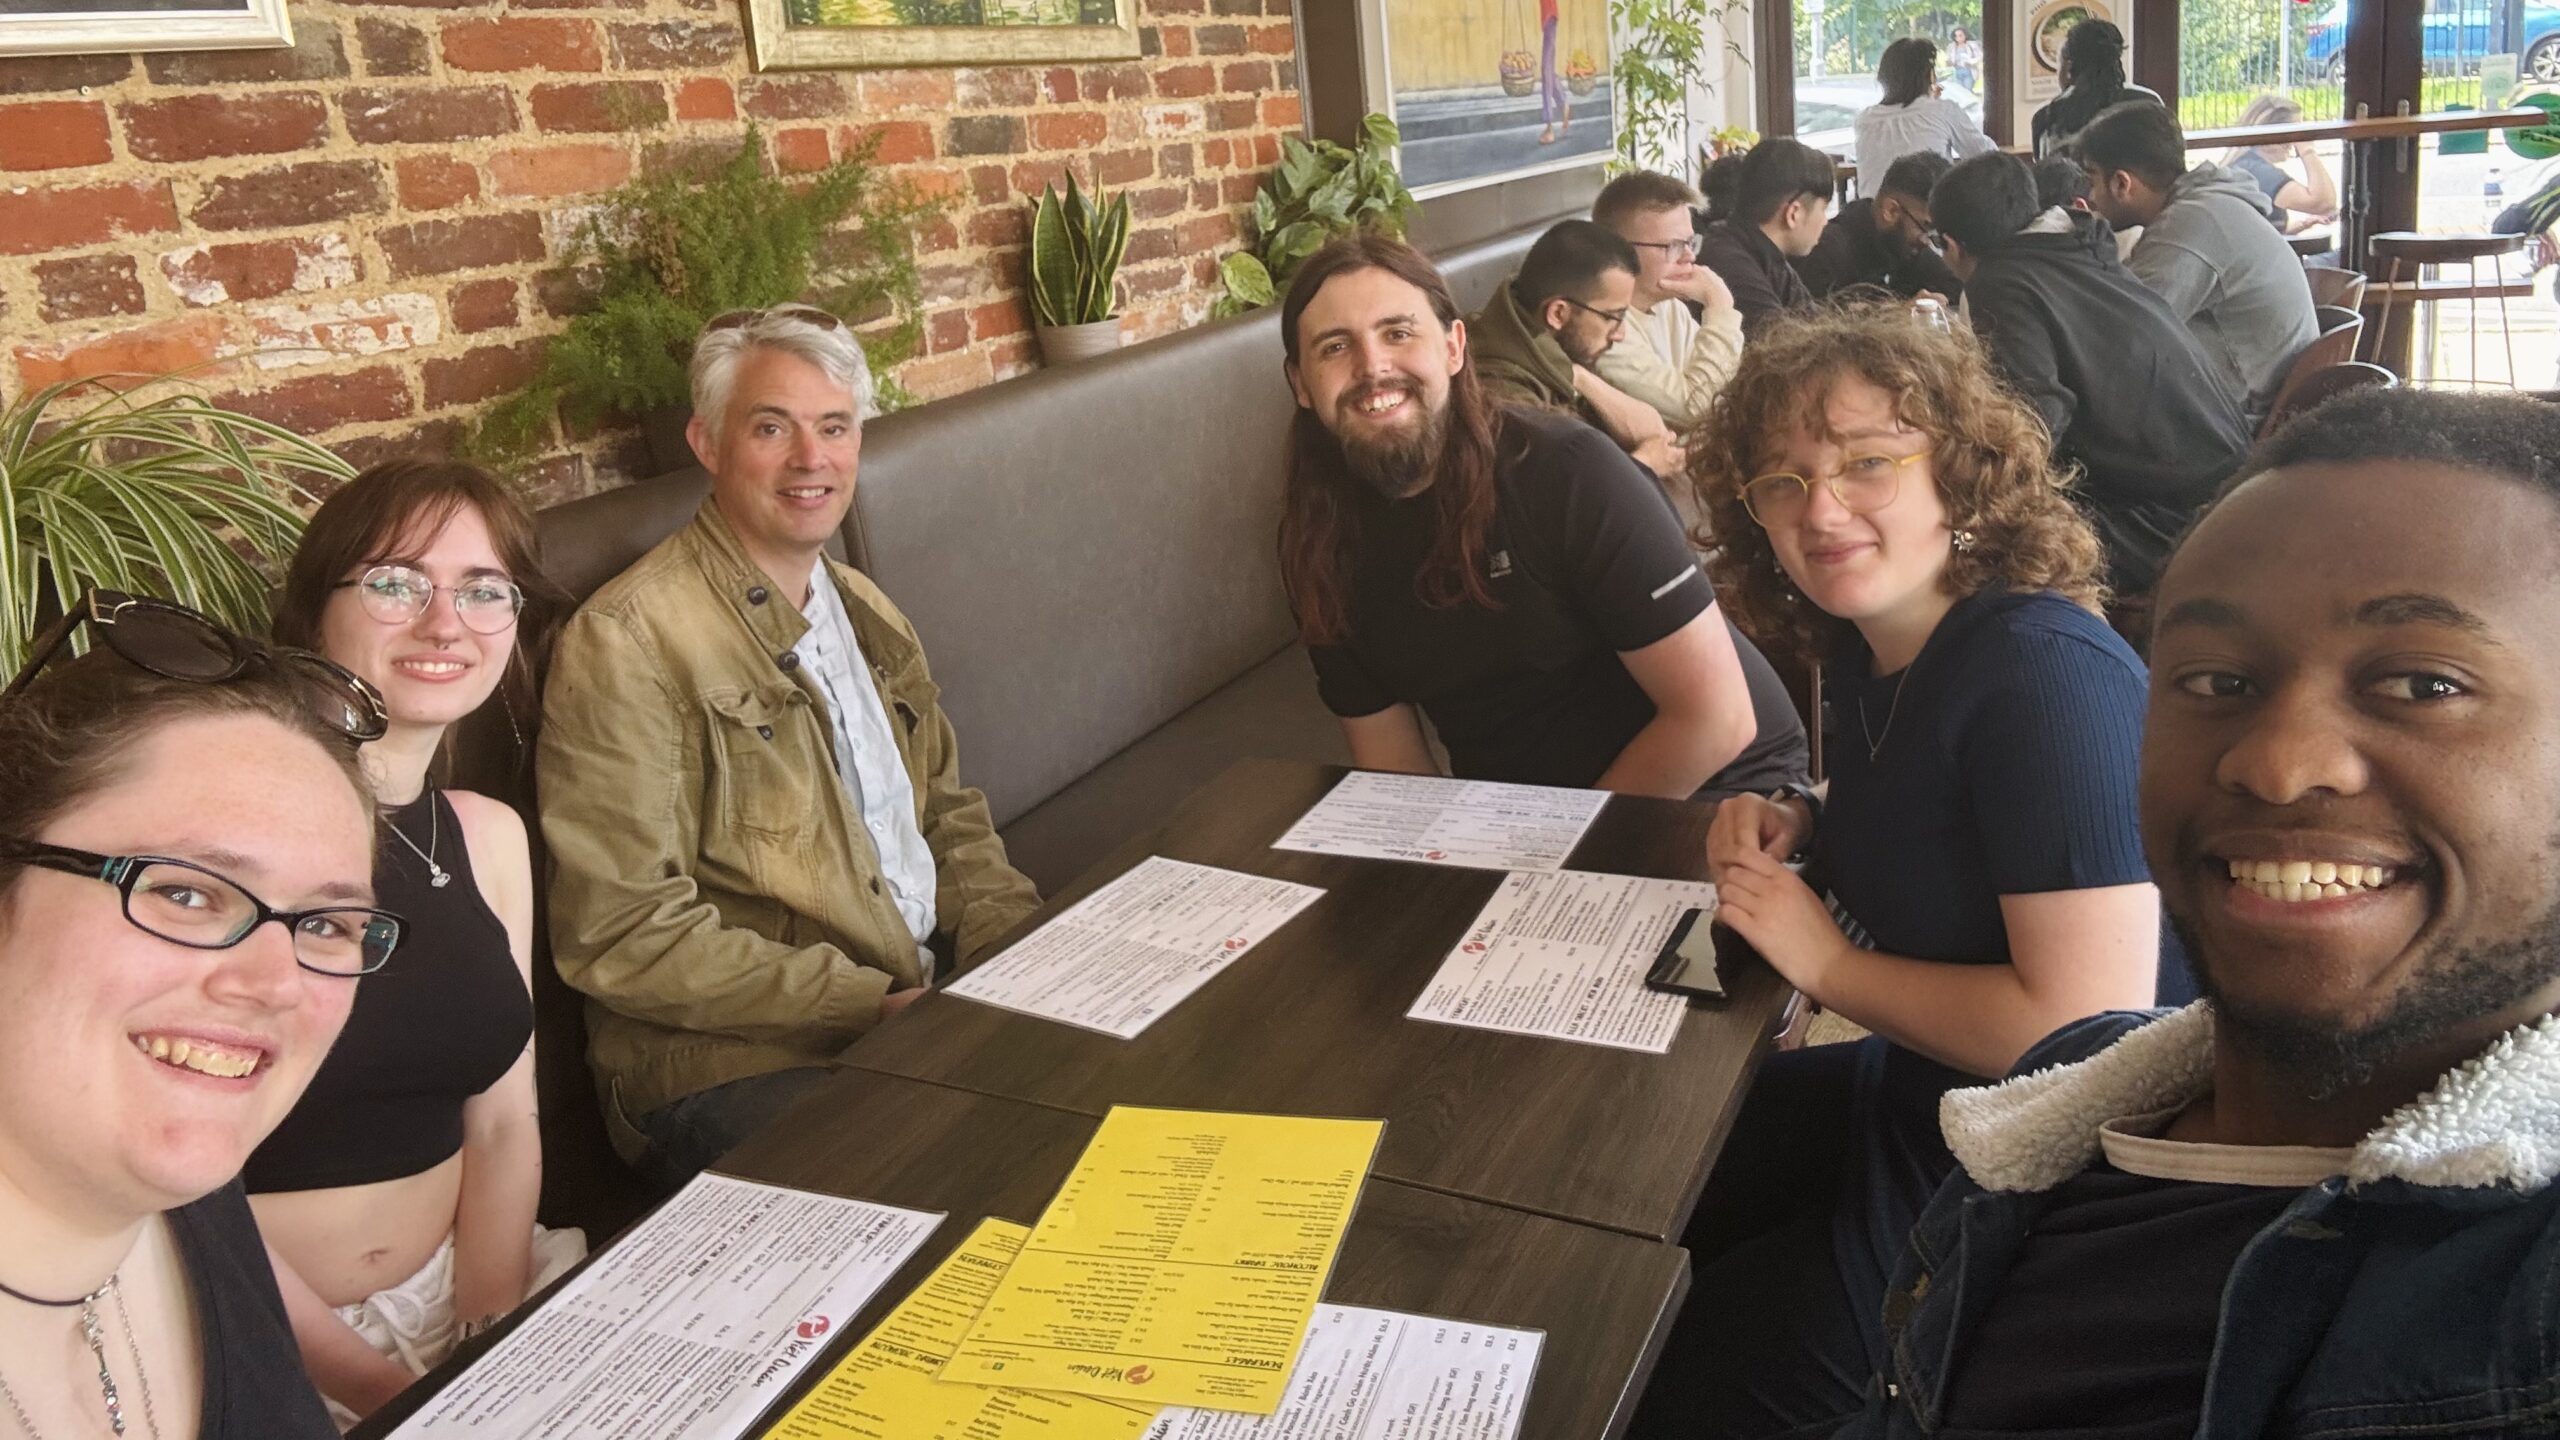
Our team has grown over the last month and we now have a good variety of skills at play from a mixture of 2nd and 3rd year students providing full keyframe body animation/cloth/texturing and facial animation. Here we are some of us taking a well earned break at a fine Vietnamese restaurant:
Left-to right: Fiona(animation), Sonya(animation), Paul(director), James(production), Willow(animation), Issac(cloth/texures)
DEADLINE
As we have accrued assorted university grants for the project, we’ve also committed to a number of deadlines. (Always good to focus the mind.) This means we are currently aiming at September to wrap on our 8 minute scene. At that stage we will be writing our formal bid for an UNREAL Mega Grant, which was one of the primary drivers behind this proof-of-concept piece. With a Mega Grant we could actually finish the whole film. Wouldn’t that be something!
It’s been quite a ride getting to this point, and it’s been a great learning experience and shown us that UNREAL really can deliver as a CGI film production tool. (A lot of which has fed back straight into my day-to-today teaching and proven an invaluable aid for our course curriculum.)
Once our sequence is finished and has been submitted with our grant bid, we plan to enter it into some short film festivals and then release it online.
Thanks for all your support over the years and you’ll be the first to know it when it’s finally released!
Signing out, Paul

